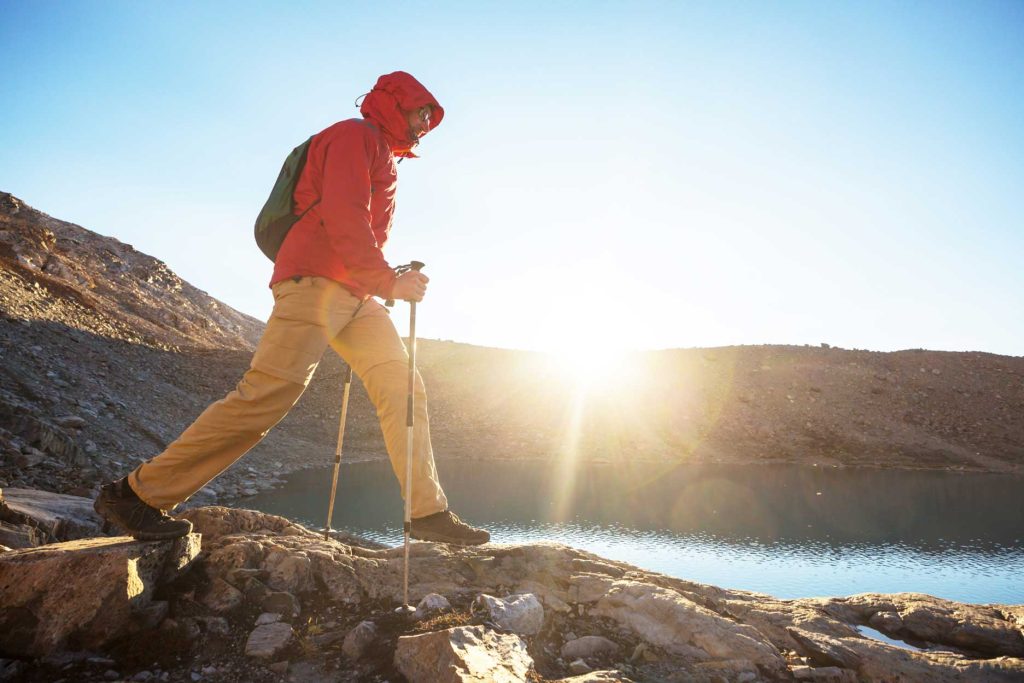
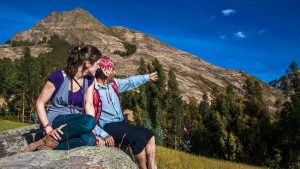
If you’re wondering how to train for hiking, you’re already doing something right. Most people don’t think about training until they’re halfway up a mountain, questioning every decision that led them there.
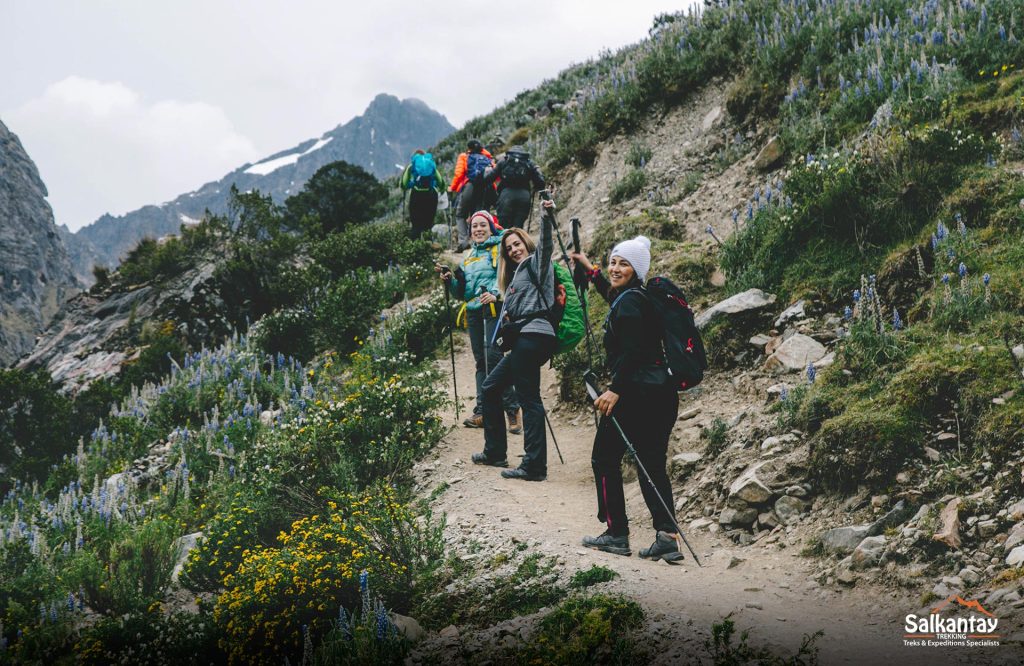
Hiking might sound simple, it’s “just walking,” after all, but once you add hills, altitude, uneven trails, and a backpack, it becomes something else entirely. That’s why training for hiking matters, whether you’re heading out for a weekend trail or preparing for something bigger like the Salkantay Trek.
This guide breaks down exactly how to train for hiking in the mountains, from cardio and strength to altitude prep and knee-saving downhill techniques, all without turning it into a full-time job.
Table of contents
- Why Training for Hiking Matters More Than You Think
- How Fit Do You Actually Need to Be for Hiking?
- How Long Should You Train Before a Big Hike?
- The 3 Core Areas of Hiking Fitness
- Cardio Training for Hiking (Build Real Endurance)
- Strength Training for Hiking (Legs, Glutes, and Core)
- The Best Exercises to Train for Hiking
- How to Train With a Backpack
- Training for Multi-Day Treks
- How Training for Hiking Changes at High Altitude (Essential Guide)
- How to Train for Downhill Hiking (Avoid Knee Pain)
- A Simple Weekly Hiking Training Plan
- How to Train for Hiking as a Beginner
- Common Mistakes When Training for Hiking
- What About Gear? Does It Affect Training?
- Nutrition and Recovery for Hiking Training
- Final Tips Before Your Hike
- Ready for the Salkantay Trek?
Why Training for Hiking Matters More Than You Think
There’s a common assumption that hiking is accessible to everyone with no preparation. And while that’s partly true, it’s also why so many people end up struggling unnecessarily.
Hiking challenges your body in ways that everyday life doesn’t. Long climbs test your lungs. Descents test your joints. Carrying a pack shifts your balance and posture. And doing all of that for hours (or days) adds up quickly.
Without training, you’re more likely to:
- Burn out early on climbs
- Experience knee pain on descents
- Feel constantly fatigued
- Miss out on enjoying the experience
Training doesn’t mean becoming ultra-fit. It just means preparing enough that your body can keep up with what you’re asking it to do, and ideally, enjoy it along the way.
How Fit Do You Actually Need to Be for Hiking?
This is usually asked with a mix of curiosity and low-level panic.
The answer depends entirely on the type of hike. A short countryside walk and a multi-day mountain trek sit at completely different ends of the spectrum.
As a rough guide:
- Easy hikes require basic walking fitness
- Moderate hikes need solid stamina and some leg strength
- Mountain hikes and multi-day treks require good endurance and strength
Many travelers worry they’re not fit enough for longer hikes and multi-day treks, like Salkantay. Well, if you’re looking into how to train for mountain hiking, a useful benchmark is that you should be comfortable walking uphill for a couple of hours at a steady pace without needing frequent stops.
You don’t need to be fast. You just need to be consistent.

How Long Should You Train Before a Big Hike?
The honest answer is as long as you realistically can.
If you’ve got time, great, use it. If not, even a few weeks of focused effort will help.
Here’s what to expect:
- 2–3 weeks: small improvements, mostly getting your body moving
- 4–6 weeks: noticeable gains in stamina and strength
- 8+ weeks: ideal for longer or more demanding treks
Consistency matters far more than intensity. Three manageable sessions a week will do far more for you than one overly ambitious week followed by burnout.
The 3 Core Areas of Hiking Fitness
When it comes to training for hiking, everything falls into three simple categories. Get these right, and you’re covering all bases.
Cardiovascular Endurance
This is your ability to keep moving without running out of breath.
Good cardio means:
- You recover faster on climbs
- You can walk longer without stopping
- You feel less exhausted overall

Strength Training
Strength training for hiking is essential.
Strength doesn’t just help you move. It protects your joints, supports your posture, and makes carrying a backpack far more manageable.
Strong legs means less fatigue and fewer aches.
Stability and Balance
Trails are unpredictable. Loose rocks, uneven ground, and narrow paths are all part of the experience.
Balance training helps you stay stable and avoid unnecessary slips, especially when tired.
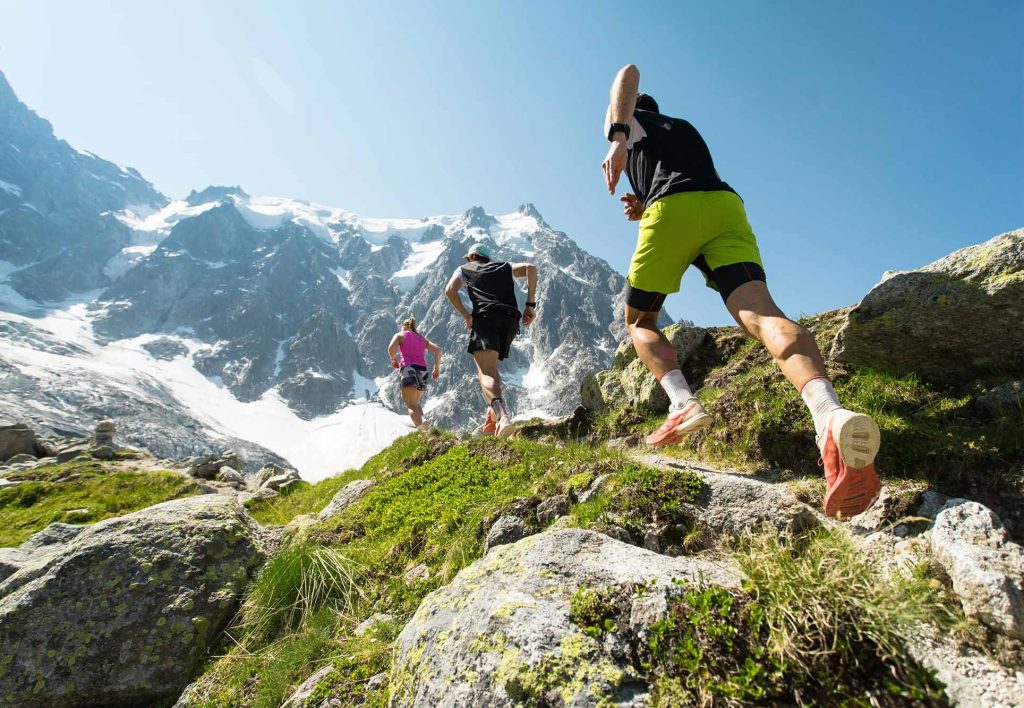
Cardio Training for Hiking (Build Real Endurance)
Cardio is the foundation of how to train for hiking. Without it, everything else feels harder than it should.
Walking vs Incline Walking
Flat walking is a good starting point, especially for beginners.
But hiking rarely stays flat. Adding a bit of an incline, whether outdoors or on a treadmill, is where real progress happens. It raises your heart rate, strengthens your legs, and better reflects real trail conditions.
Stair Climbing and Hill Repeats
Stairs are one of the most effective ways to train for hiking.
Repeating a hill or staircase builds both strength and endurance at the same time. It’s simple, slightly repetitive, and very effective.
Running vs Hiking-Specific Cardio
Running improves general fitness, but it’s not a perfect substitute for hiking.
Hiking tends to be slower, longer, and often uphill. Long walks, especially with elevation, are more specific and more useful for preparing your body.
Weekly Cardio Structure
A simple structure works best:
- 2 shorter sessions during the week (30–45 minutes)
- 1 longer walk or hike at the weekend (60–120 minutes)
That longer session is where endurance really builds, and where you start to feel more confident.
Strength Training for Hiking (Legs, Glutes, and Core)
Strength training is often overlooked, but it’s one of the biggest factors in how comfortable you feel on a hike.
You don’t need complicated routines, just consistent, targeted work.
Key Muscle Groups for Hiking
Focus on:
- Quads for climbing and descending
- Glutes for power and stability
- Hamstrings for support
- Core for posture and balance
A strong core becomes especially important when carrying a backpack for long periods.
Bodyweight vs Weighted Training
Start with bodyweight exercises if you’re new.
Once those feel manageable, add resistance using:
- Dumbbells
- Kettlebells
- Or your hiking backpack
Adding weight is particularly useful when preparing for multi-day treks.
The Best Exercises to Train for Hiking
If you’re wondering what actually works when it comes to strength training exercises for hiking, this is it. You don’t need anything fancy, just a handful of movements that mimic what your body does on the trail.
Think stepping up, stabilizing, controlling descents, and carrying weight without falling apart halfway through.
Squats
Squats are your all-rounder. They build strength in your quads, glutes, and hamstrings, which is basically everything you use when walking uphill.
Why they matter for hiking:
Every uphill step is essentially a single-leg squat. The stronger you are here, the less your legs will burn after 20 minutes of climbing.
How to do them:
- Stand with feet shoulder-width apart
- Sit back and down like you’re lowering into a chair
- Keep your chest up
- Push through your heels to stand back up
If you want to level up, hold a weight (or your backpack) while doing them.

Lunges
Lunges are slightly evil, but in a good way. They train each leg individually, which is exactly how hiking works.
Why they matter for hiking:
They improve balance, coordination, and strength when stepping over uneven ground, so think rocks, roots, and awkward trail steps.
How to do them:
- Step one foot forward
- Lower your back knee towards the ground
- Keep your front knee in line with your foot
- Push back up and repeat
Bonus: walking lunges make you feel very productive (and slightly smug).

Step-Ups
If you only do one exercise for training for hiking, make it this one.
Why they matter for hiking:
Step-ups are basically hiking in disguise. They directly train the motion of stepping uphill, especially when carrying weight.
How to do them:
- Find a bench, box, or sturdy step
- Step up with one foot, then bring the other up
- Step back down slowly
- Repeat on both sides
Make it harder by:
- Holding weights
- Wearing your backpack
- Using a higher step
This is one of the best ways on how to train for mountain hiking specifically.

Deadlifts
Deadlifts sound intimidating, but they’re incredibly useful.
Why they matter for hiking:
They strengthen your posterior chain (glutes, hamstrings, lower back), which helps with posture, power, and carrying a backpack.
How to do them:
- Stand with feet hip-width apart
- Hold a weight (or backpack) in front of you
- Hinge at your hips (not your back)
- Lower the weight down your legs
- Stand back up by squeezing your glutes
Think “push hips back” rather than “bend over.”

Calf Raises
Your calves do a lot more work than you realize, especially on inclines and uneven terrain.
Why they matter for hiking:
Strong calves help with endurance and reduce fatigue when climbing or walking for long periods.
How to do them:
- Stand upright
- Raise your heels off the ground
- Pause at the top
- Lower slowly
Do them on a step to increase the range of motion if you’re feeling ambitious.

Planks
Planks aren’t glamorous, but they’re essential.
Why they matter for hiking:
A strong core keeps you stable, especially when carrying a backpack or walking on uneven trails. It also helps prevent lower back pain.
How to do them:
- Hold a push-up position on your forearms
- Keep your body in a straight line
- Don’t let your hips drop (or shoot up)
- Hold for as long as you can with good form
If you’re shaking, it’s working.

If you build these into your routine, you’ve basically covered everything needed for strength training for hiking, without overcomplicating it.
How to Train With a Backpack
One of the most common mistakes in training for hiking is ignoring the backpack entirely.
Then suddenly, on day one of your trip, you’re carrying 8–10 kg and wondering why everything feels harder.
Progressive Weight Loading
Start light and build gradually.
Even a few extra kilos can significantly change how your body feels on a walk.
Simulating Real Hiking Conditions
Train with the gear you’ll actually use.
This helps you:
- Adjust your posture
- Get used to the weight
- Spot any discomfort early
Common Mistakes
- Adding too much weight too quickly
- Only training on flat terrain
- Ignoring how the pack fits
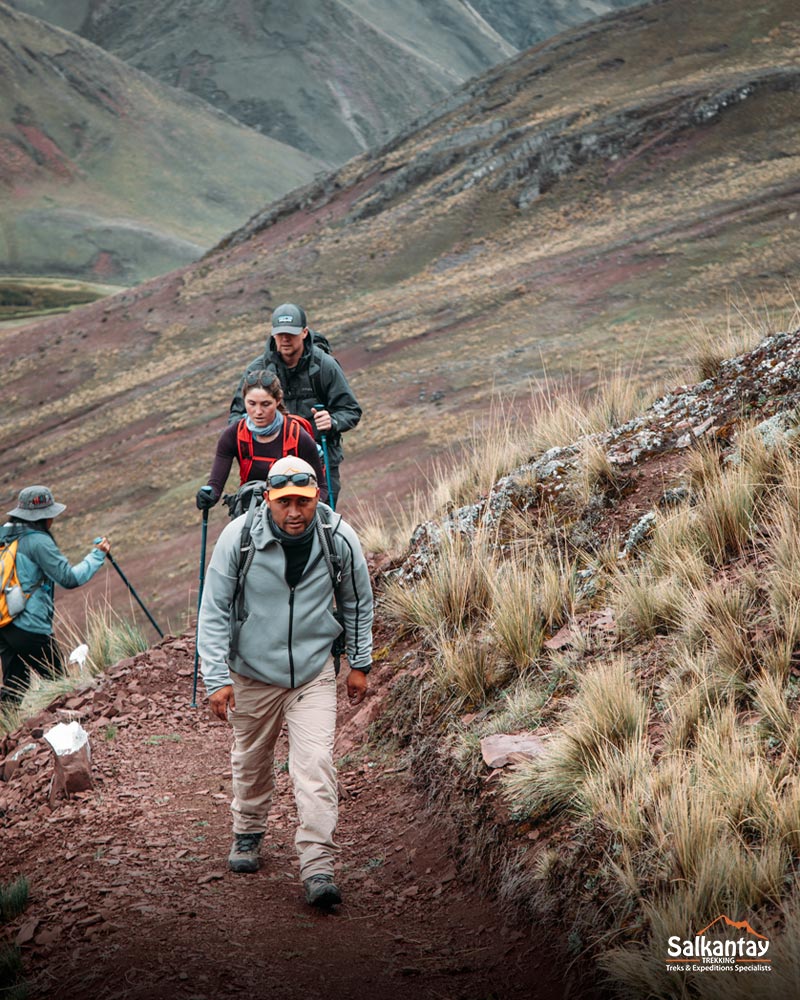
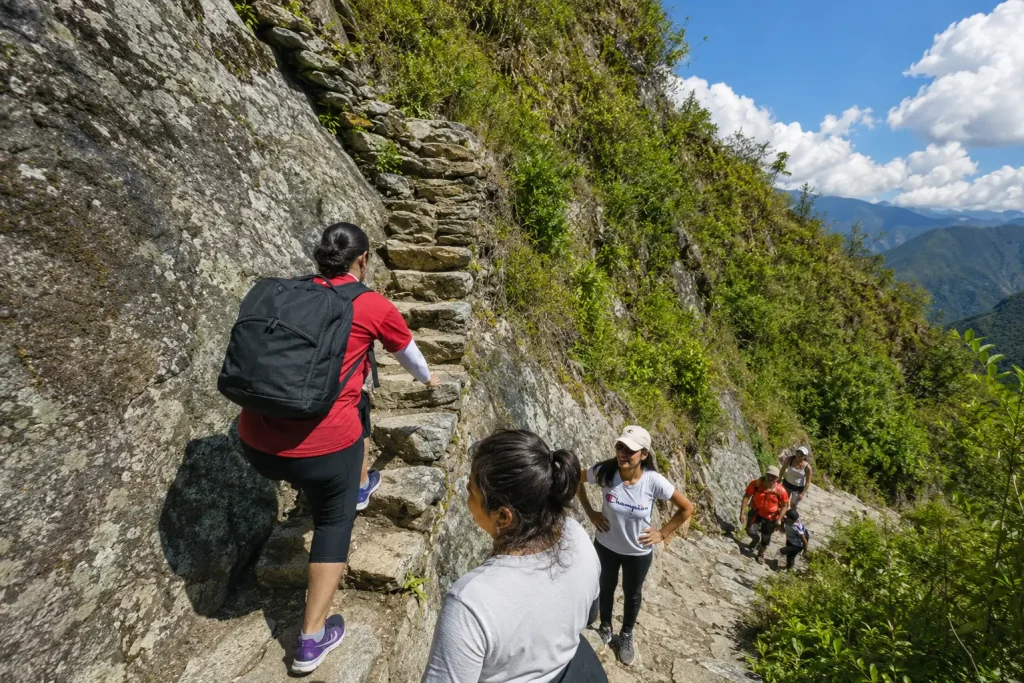
Training for Multi-Day Treks
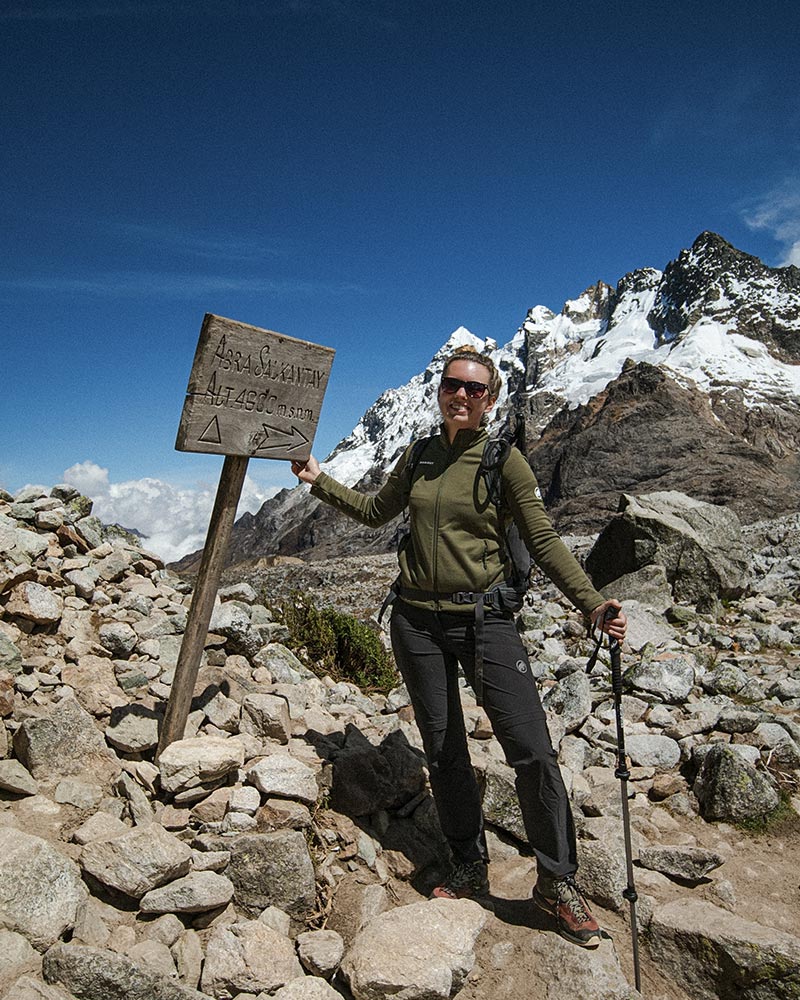
Multi-day treks, like the Salkantay Trek, require a slightly different approach to how to train for hiking.
It’s not just about one good day but about repeating that effort several days in a row.
Back-to-Back Training Days
Try walking or hiking on consecutive days.
This helps your body adapt to cumulative fatigue, which is exactly what happens on a trek.
Hiking on Tired Legs
You won’t feel fresh every day on a multi-day hike.
Training in a slightly fatigued state helps prepare you for that reality.
Building Mental Endurance
Long hikes aren’t just physical.
There’ll be moments where it’s uncomfortable, slow, or just a bit tough. Training builds the confidence to keep going anyway.
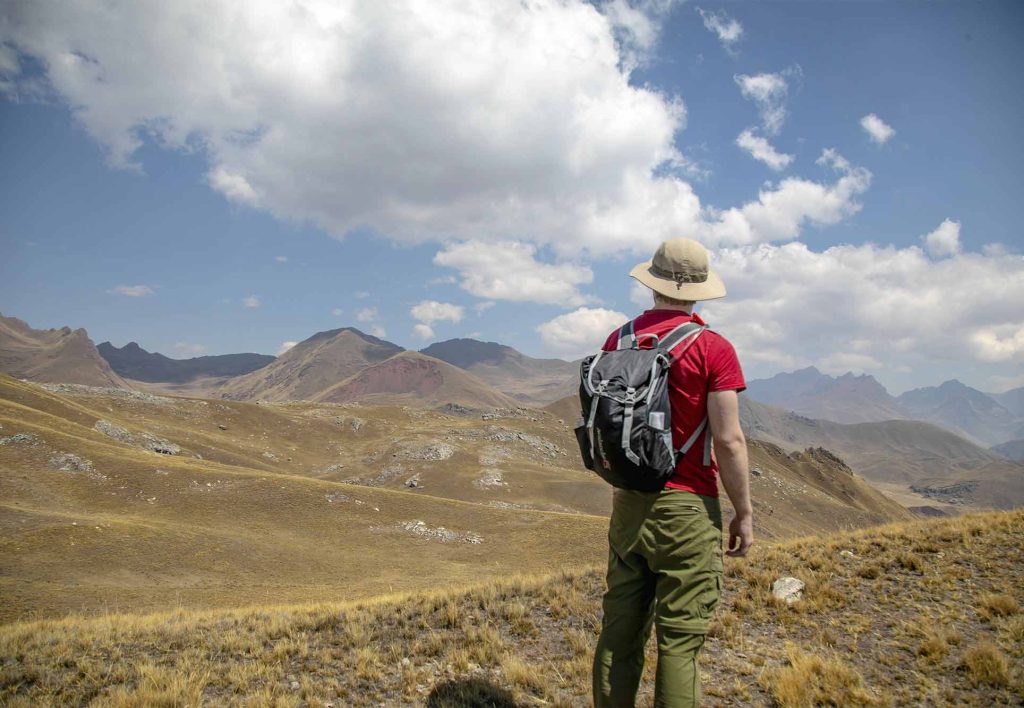
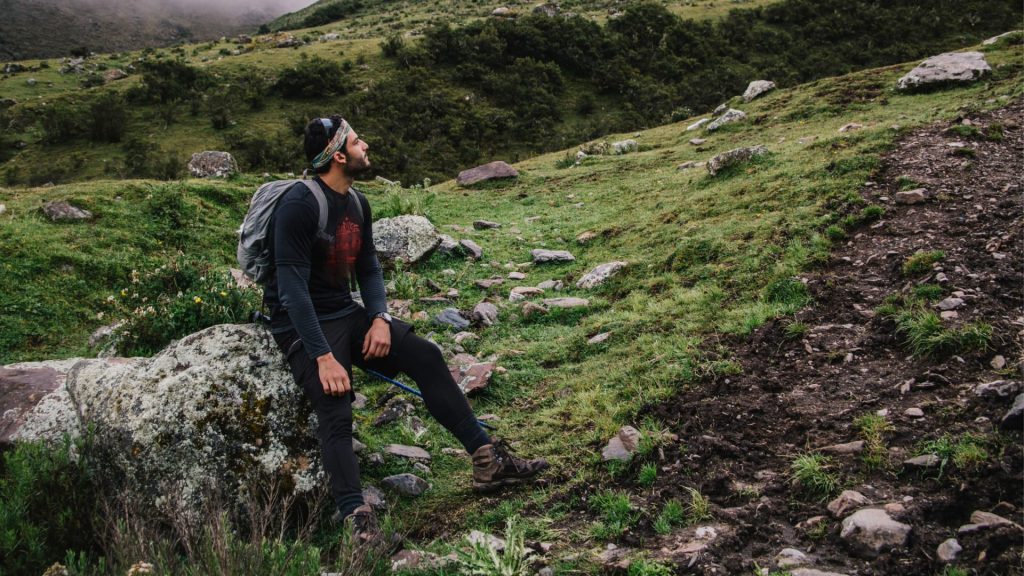
How Training for Hiking Changes at High Altitude (Essential Guide)
If you’re researching how to train for high-altitude hiking, this is where expectations need to be realistic.
Why Altitude Feels So Much Harder
At higher elevations, there’s less oxygen available. This makes everything feel harder. Yes, even simple movements.
You’ll likely notice:
- Faster breathing
- Higher heart rate
- Reduced energy levels
What You Can and Cannot Train For
You can’t fully replicate altitude before your trip.
But improving your overall fitness makes a big difference in how well your body copes.
Practical Ways to Prepare Before You Go
- Build strong cardio fitness
- Stay well hydrated
- Give yourself time to acclimatize
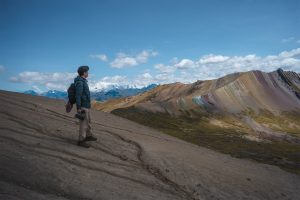
This is especially relevant for high-altitude hikes like Rainbow Mountain, where the challenge hits immediately.
How to Train for Downhill Hiking (Avoid Knee Pain)
Downhill hiking is often underestimated, until your knees start complaining.
Why Downhill Is Harder Than It Looks
Descending requires control, not just movement.
Your muscles work to slow you down with every step, which creates more strain than you might expect.
Muscles Used in Descending
Your quads do most of the work, acting as shock absorbers.
If they’re not strong enough, your knees take the impact instead.
Exercises to Protect Your Knees
Focus on controlled movements like:
- Slow squats
- Step-downs
- Lunges
These build the strength needed to handle descents safely.
Downhill Technique Tips
These simple changes can make a big difference:
- Take shorter steps
- Keep your weight slightly back
- Avoid locking your knees
- Use trekking poles if needed

A Simple Weekly Hiking Training Plan
You don’t need a complicated or overly strict routine to get results. The best training plan is one you can stick to consistently and something that fits around your life rather than taking it over.
A good hiking plan should include:
- Cardio (for endurance)
- Strength training (for support and power)
- One longer session (to build real hiking stamina)
The aim is to gradually build your fitness without burning out or losing motivation halfway through.
Beginner Training Plan
If you’re new to training for hiking, keep things simple and manageable.
A typical beginner week might look like:
- 2–3 walks (20–40 minutes)
- 1 short strength session (20–30 minutes)
Your focus here is:
- Building consistency
- Getting comfortable being on your feet regularly
- Gently improving stamina
You don’t need to worry about pace or distance too much at this stage. Just showing up regularly will make a noticeable difference within a few weeks.
If possible, start introducing small hills by week 2–3. Even a slight incline will help prepare you for real hiking conditions.
Intermediate Training Plan
Once you’ve built a base, you can start increasing both volume and intensity.
A more structured week might look like:
- 2–3 cardio sessions (30–60 minutes)
- 2 strength sessions (focused on legs and core)
- 1 longer hike or walk (60–120 minutes)
At this stage, you should:
- Include hills or incline regularly
- Start carrying a light backpack on some walks
- Push your endurance slightly with longer sessions
If you’re looking at how to train for mountain hiking or a multi-day trek, this is where you’ll see the biggest improvements.
Weekly Schedule Breakdown
If you prefer a clear structure, here’s an example you can follow or adapt:
- Monday: Rest or light activity (stretching, easy walk)
- Tuesday: Cardio (30–45 mins, include hills if possible)
- Wednesday: Strength training (legs + core)
- Thursday: Cardio (steady walk or incline session)
- Friday: Rest
- Saturday: Longer hike or walk (60–120 mins, ideally outdoors)
- Sunday: Optional light walk or recovery
A few things to keep in mind:
- Your long walk is the most important session of the week
- Rest days are just as important as training days
- It’s better to be consistent than perfect
If you’re short on time, even 3 sessions a week (2 walks + 1 strength session) will still move you in the right direction.
How to Train for Hiking as a Beginner
Starting out doesn’t need to be complicated. This section is about building a base that actually sticks rather than overwhelming yourself and quitting after a week.
Where to Start
Start with regular walking. Seriously, that’s enough.
Aim for 3 sessions a week at a pace where you’re slightly out of breath but can still hold a conversation. The goal here isn’t intensity, it’s consistency.
If you’re completely new to exercise, even 20 minutes is a solid starting point. What matters is building the habit and getting your body used to moving regularly.
Walking Progression Plan
Progression is where beginners either improve steadily or fall off completely.
Instead of jumping straight into long hikes, build up gradually:
- Increase your walking time by 5–10 minutes each week
- Introduce gentle hills after the first couple of weeks
- Add one slightly longer walk at the weekend
By week 4–6, you should be comfortably walking for 60 minutes or more. That’s a strong base for moving into more challenging terrain and longer hikes.
Building Confidence
Confidence comes from repetition.
The more you walk, the more familiar it feels, and the less intimidating longer hikes become. A route that feels difficult in week one will feel manageable a few weeks later.
It also helps to:
- Repeat the same route and track improvement
- Gradually introduce small challenges (like hills or uneven terrain)
- Focus on finishing, not speed
Most people aren’t held back by fitness. They’re held back by not trusting their ability yet.
Common Mistakes When Training for Hiking
Even with good intentions, it’s easy to train in ways that don’t actually help or make things harder later on.
Only Doing Cardio
Cardio is important, but it’s only half the picture.
If you only focus on walking or running, your endurance might improve, but your muscles won’t be prepared for the strain of hills, descents, or carrying a backpack. That’s where fatigue and joint pain creep in.
Adding even one strength session a week makes a noticeable difference.
Ignoring Downhill Training
Most people think uphill is the hard part. That’s until they go downhill.
Descending puts constant pressure on your knees and quads. If you haven’t trained for it, this is where discomfort (or injury) usually shows up.
Including exercises like lunges and step-downs helps prepare your body for that controlled movement.
Not Training With Weight
Hiking without a backpack feels very different from hiking with one.
If you don’t train with weight, the first day of your trek can feel unnecessarily difficult. Your posture changes, your core works harder, and your energy drains faster.
Even adding a few kilos during training walks helps your body adapt.
Overtraining Too Quickly
This is one of the fastest ways to burn out.
Doing too much too soon often leads to:
- Soreness that doesn’t go away
- Loss of motivation
- Skipping sessions entirely
Progress should feel gradual. If every session feels exhausting, you’re pushing too hard.
What About Gear? Does It Affect Training?
Gear doesn’t replace fitness, but it definitely affects how comfortable you feel.
Hiking Boots vs Trail Runners
Whatever you plan to hike in, train in it.
Boots tend to offer more support, especially on uneven terrain, while trail runners are lighter and more flexible. Neither is “better” as such. It simply depends on your preference and the type of hike.
The key thing is familiarity. New footwear always feels different.

Breaking in Your Footwear
This is non-negotiable.
Wearing brand new boots on a long hike is one of the easiest ways to end up with blisters early on. Training walks give your feet time to adjust and help soften the material.
If something rubs during training, it will definitely rub on a longer trek.
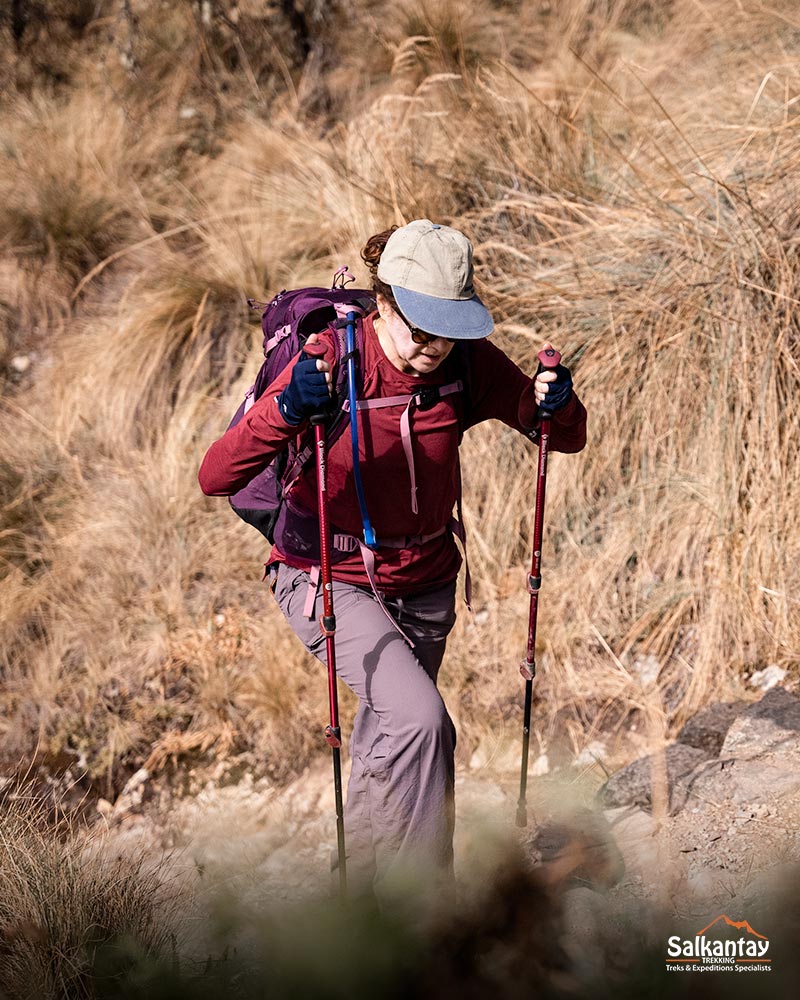
Using Trekking Poles
Poles aren’t just for steep mountains. They’re useful in a lot of situations.
They help:
- Reduce strain on your knees during descents
- Improve balance on uneven terrain
- Distribute effort across your upper body
If you plan to use them, practise during training so they feel natural.
Nutrition and Recovery for Hiking Training
Training is only effective if your body can recover from it.
Fueling Your Training
You don’t need a strict diet, but you do need enough energy.
Carbohydrates are especially important for endurance activities like hiking. If you’re under-fuelling, you’ll feel sluggish and struggle to complete longer sessions.
A simple rule to follow is if you feel constantly drained, you’re probably not eating enough.
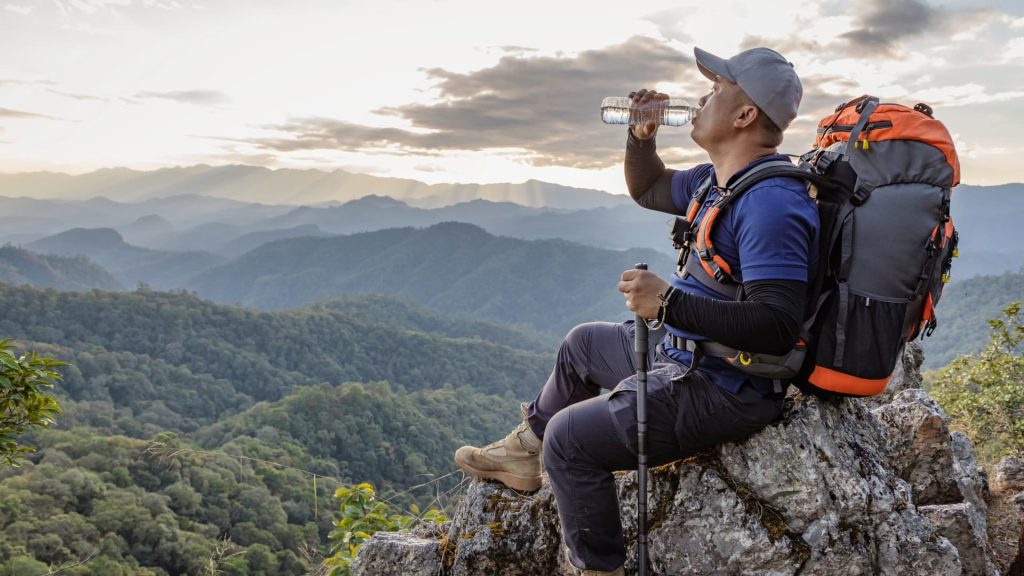
Hydration
Hydration has a bigger impact than most people expect.
Even mild dehydration can lead to:
- Lower energy levels
- Reduced performance
- Headaches
Get into the habit of drinking regularly during walks, not just afterwards.
Rest and Recovery
Rest days are where progress actually happens.
When you train, you’re creating stress on your muscles. Recovery is when your body adapts and gets stronger.
Skipping rest days doesn’t speed things up. In fact, it usually slows them down.
Final Tips Before Your Hike
This is where you bring everything together before the actual trek.
Tapering Before Your Trek
In the final week before your hike, reduce the intensity of your training.
You don’t need to “cram” fitness at the last minute. The goal is to feel rested and ready, not tired from overtraining.
Packing Smart
Weight matters more than you think.
Every extra item adds up over time, especially on longer hikes. Stick to essentials and avoid the “just in case” items you’re unlikely to use. If you’re unsure whether it needs to come, it probably doesn’t.
Mental Preparation
No matter how much you train, there’ll be moments that feel tough.
That’s normal.
Knowing that in advance makes it easier to deal with. Instead of seeing it as a problem, you recognize it as part of the experience and keep going.
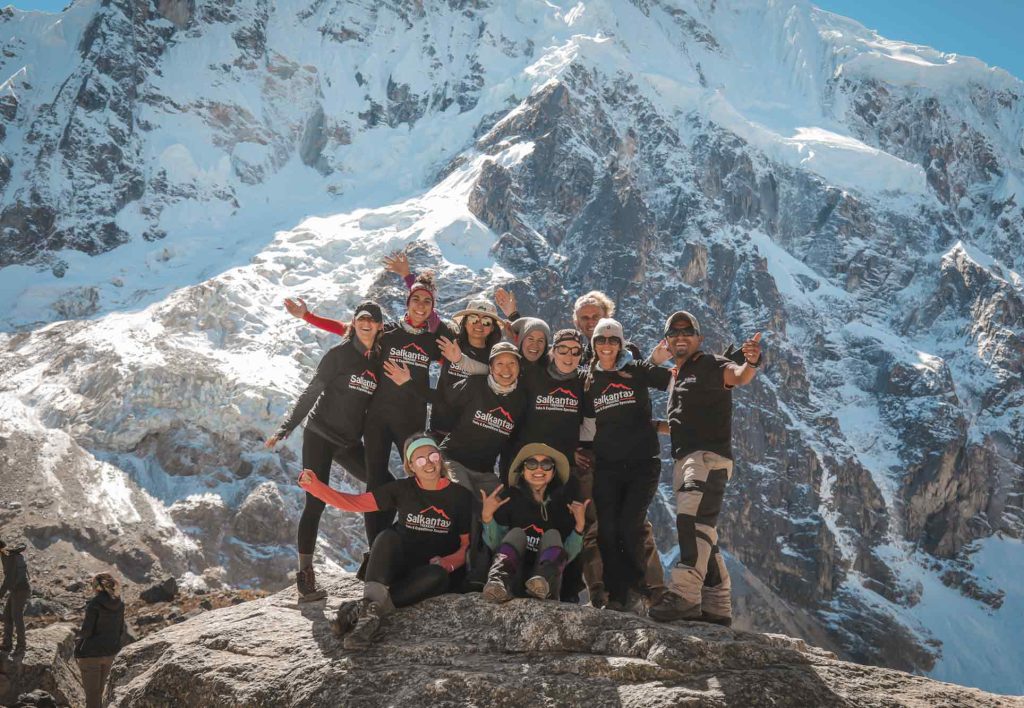
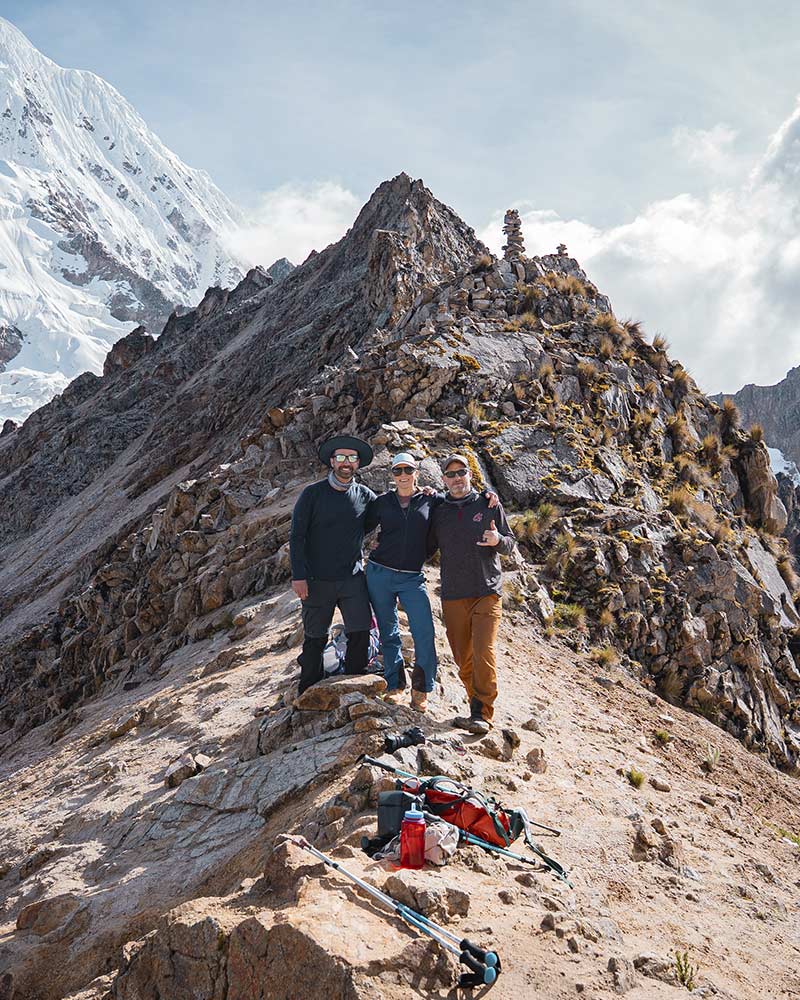
Ready for the Salkantay Trek?
By now, you’ve got a clear understanding of how to train for hiking, from your first walks to preparing for longer, more demanding routes.
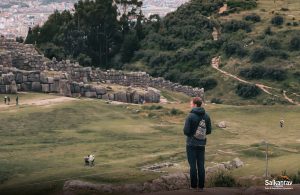
Whether you’re heading to the Salkantay Trek, visiting Machu Picchu, or taking on Rainbow Mountain, the work you’ve put in beforehand will make a real difference.
You won’t just get through it. You’ll actually enjoy it.
So, what are you waiting for? Start training and you’ll be joining us on the trail in no time. Already think you’re ready? Then strap on those hiking boots and we’ll see you on the mountain.


Leave A Reply