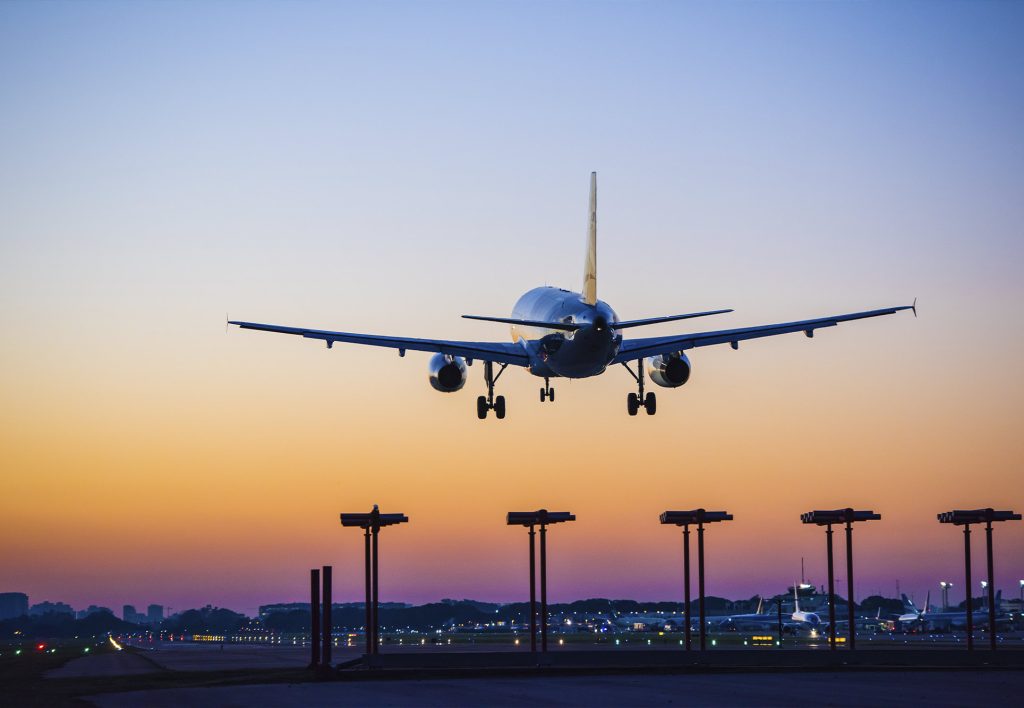
If you’ve been searching for how to plan a hiking trip, you’ve probably realized pretty quickly that most advice falls into two camps. It’s either painfully basic (“bring water”) or wildly optimistic (“just hike 20 miles a day, you’ll be fine”).
The reality sits somewhere in the middle.
Planning a hiking trip, whether it’s a relaxed weekend walk or a full multi-day trek like Salkantay, is about getting a few key decisions right early on. Do that, and everything else becomes easier. Get it wrong, and you’re dealing with blisters, exhaustion, and the creeping realization you packed far too many jumpers and forgot a headlamp.
This guide is here to walk you through the whole process properly. Not rushed. Not vague. Just a clear, practical hiking guide that actually helps you plan something you’ll enjoy, not just survive.
So, sit back and take notes as we walk you through planning, training, picking the right destination, and plenty more.
Table of contents
- Decide What Kind of Hiking Trip You Want
- Choose the Right Destination
- Pick the Best Time to Go Hiking
- Research the Trail Properly
- Set a Realistic Budget
- Plan Your Route and Itinerary
- Train and Prepare Your Body
- How to Plan a High-Altitude Hiking Trip (Essential Tips)
- Pack the Right Gear (Without Overpacking)
- Plan Your Food and Water Strategy
- Understand Safety and Navigation
- Book Key Logistics in Advance
- Final Checks Before You Go
- Common Mistakes to Avoid When Planning a Hiking Trip
- Should You Hike Independently or Go Guided?
- Example: Planning a Multi-Day Trek (Salkantay Case Study)
- Planning Makes the Trip
Decide What Kind of Hiking Trip You Want
Before you start looking at destinations or buying gear, you need to get clear on what kind of trip you’re actually planning. This sounds obvious, but it’s where most people go slightly off track.
“Hiking trip” is a broad term. It can mean a gentle countryside loop with a pub at the end, or a multi-day trek across mountain passes where your legs question your life choices by day two.
Getting specific early on shapes every decision that follows, including your destination, your budget, your packing list, and even how much you need to train.
Day Hike vs Multi-Day Trek
The first big decision is whether you’re heading out for a single day or committing to something longer.
A day hike is fairly straightforward. You’ll carry less, you don’t need to think about sleeping arrangements, and if something goes wrong, you’re usually not too far from civilization. It’s a great way to build confidence if you’re new to hiking.
A multi-day trek is a different experience entirely. You’re thinking about where you’ll sleep each night, how much food you need, how to pace yourself across several days, and how your body will handle repeated effort. Even something as simple as packing becomes more strategic, because every extra kilo matters when you’re carrying it uphill.
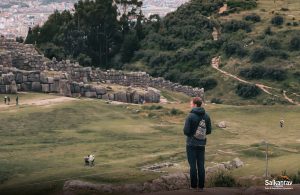
If you’re considering routes like the Ausangate Trek, you’re firmly in trekking territory. That doesn’t mean it’s out of reach. It just means it deserves proper planning.
Check out this article on “Trekking vs. Hiking: What’s the Difference and Which Is Harder?” if you want to dive a little deeper into the differences between the two.
Guided vs Independent Hiking
Next, decide whether you want to organize everything yourself or join a guided trek.
Independent hiking gives you flexibility. You can move at your own pace, change plans as you go, and usually keep costs lower. It works well in places where trails are clearly marked and logistics are simple.
Guided treks, on the other hand, take a lot of pressure off. A tour operator handles transport, food, accommodation, and route planning for you. You’ll also have someone who knows the terrain, the conditions, and what to do if things don’t go to plan.
In many destinations, guided options are often the smoother experience, especially for routes like the Inca Trail in Peru or Mount Kilimanjaro in Kenya, where you need to hike the route with a state-authorized operator. In addition, these treks operate under a limited licensing system, which means there are only a small number of spaces available each day. If you can’t secure a space with an official guided option, you won’t be allowed on the trail.
Matching the Hike to Your Experience Level
It’s easy to get inspired by photos of dramatic mountain landscapes and decide to go all in. But the best hiking trips are the ones that match your current ability, not the one you hope to have by the time you reach the starting line.
If you’re new to hiking, start with shorter distances and lower elevations. Build up gradually. If you’ve done multi-day hikes before, you can push a bit further, but even then, factors like altitude or terrain can make apparently easy distances feel much harder.
A good rule of thumb is you should feel challenged, but not overwhelmed. If every day looks exhausting on paper, it probably will be in reality.
Choose the Right Destination
Once you know what kind of trip you want, you can start narrowing down where to go. This is usually the most exciting part, but it’s also where a bit of practical thinking goes a long way.
A destination might look incredible online, but that doesn’t always mean it’s right for your timing, your budget, or your experience level. Here are a few considerations.
Climate and Weather Conditions
Start by asking, “What’s the weather actually like when you’re planning to go?”
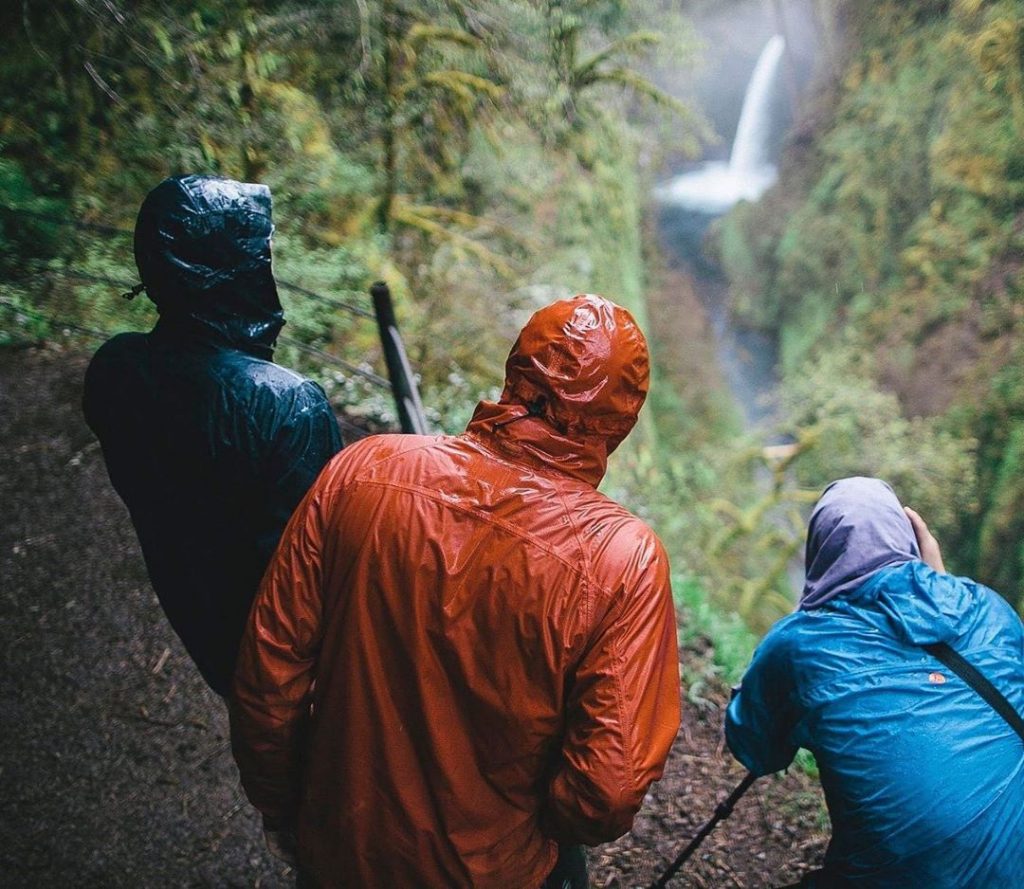
Some hiking destinations have very defined seasons. There’s a window where conditions are ideal, and outside of that, things can get unpredictable quickly, like heavy rain, snow, or trails that become difficult to navigate.
For example, if you’re planning a hiking trip to Peru, the dry season (roughly May to October) offers the most stable conditions for trekking. Outside of that, rain can affect trail quality and visibility, especially in mountainous regions. In fact, the Inca Trail is closed in February for maintenance.
It’s not just about comfort, either. Weather can directly impact safety, particularly on exposed or high-altitude routes.
Trail Difficulty and Terrain
Not all trails are made the same, even if they’re the same distance.
A 10km walk on flat ground is very different from 10km with steep ascents, uneven terrain, or loose rocks underfoot. Elevation gain, in particular, is what tends to catch people out.
When researching a route, look beyond the distance and check:
- Total elevation gain
- Trail surface (rocky, muddy, well-maintained)
- Technical sections (if any)
This gives you a much clearer picture of what the hike will actually feel like.
Accessibility and Travel Logistics
Finally, think about how easy it is to get there and back.
Some hikes start right outside towns or cities. Others require multiple stages of transport just to reach the trailhead. That might be part of the adventure, but it also adds time, cost, and potential stress.
Ask yourself:
- How do I get to the starting point?
- Is transport reliable?
- Do I need to book anything in advance?
If the logistics feel complicated now, they won’t feel simpler when you’re tired and carrying a backpack.
Pick the Best Time to Go Hiking
Once you’ve chosen your destination, timing becomes everything. The exact same trail can feel completely different depending on when you go. It could be easy and scenic in one season, miserable (or downright unsafe) in another.
This is one of those decisions that truly shapes your entire experience.
Understanding Seasonal Weather Patterns
Every hiking destination has its own rhythm. Some have clear dry and wet seasons, others swing between extreme heat and freezing conditions. Some change dramatically almost every month throughout the year.
If you get this right, you’ll have:
- Clear views
- Stable trails
- Comfortable hiking temperatures
Get it wrong, and you’re dealing with slippery paths, limited visibility, and the kind of weather that makes every step harder than it needs to be. Plus, you could be putting yourself in great danger.
For example, in mountainous regions, even a bit of rain can turn a manageable trail into something slow and unpredictable. At higher elevations, conditions can change within hours, not days.
High Season vs Low Season
There’s always a trade-off here.
High season usually means:
- Better weather
- Safer trail conditions
- More services available
But also:
- More people
- Higher prices
- Less flexibility
Low season flips that. You might get quieter trails and better deals, but you’re taking on more risk with conditions.
There’s no “right” answer here. It’s just what matters more to you.
Research the Trail Properly
This is where good plans become great ones.
It’s tempting to skim a few blog posts, glance at a map, and assume you’ve got the idea. But the more you understand your trail beforehand, the fewer surprises you’ll deal with out there.
And ideally, surprises should be stunning views, not problems.
Distance, Elevation, and Difficulty
Distance alone doesn’t tell you much.
A shorter hike with steep elevation gain can feel far more demanding than a longer, flatter route. What really matters is how that distance is distributed across the day.
Look for:
- Total mileage
- Elevation gain and loss
- Average time to complete each section
This helps you build a realistic picture of what each day will actually feel like and not just how it looks on paper.
Trail Conditions and Maintenance
Not all trails are clearly marked or well-maintained.
Some are easy to follow, with clear signage and steady footpaths. Others require a bit more navigation, with uneven terrain or sections that aren’t immediately obvious.
Check recent reports if you can. Trail conditions change, and weather, erosion, and usage all play a role.
Permits and Regulations
Some hikes are open access. Others are tightly controlled.
Routes like the Inca Trail, for example, require permits that sell out months in advance. Turn up without one, and you’re not hiking it.
Even on less restricted trails, there may be:
- Entry fees
- Camping rules
- Environmental guidelines
It’s worth knowing these ahead of time, so you’re not figuring it out at the trailhead.
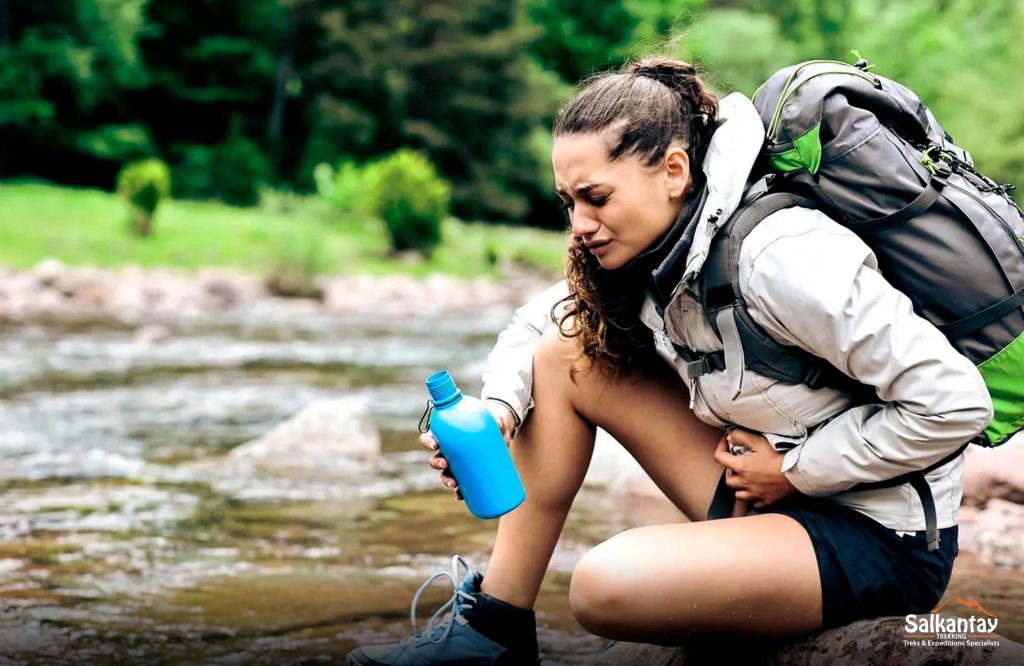
Water Sources and Resupply Points
Water is one of the easiest things to underestimate, and one of the worst things to run out of.
Before you go, find out:
- Where you can refill
- Whether water needs filtering
- How far apart sources are
If you’re hiking in a remote area, you may need to carry more than you expect or plan carefully around refill points.
Set a Realistic Budget
Hiking has a reputation for being a “cheap” way to travel. And it can be, but only if you plan for it.
Costs add up in ways people don’t always expect, especially on multi-day trips or international treks.
Transport and Flights
This is usually your biggest upfront expense.
Flights, buses, transfers to trailheads, it all counts. The more remote your destination, the more moving parts you’ll have.
Booking early can make a noticeable difference here.
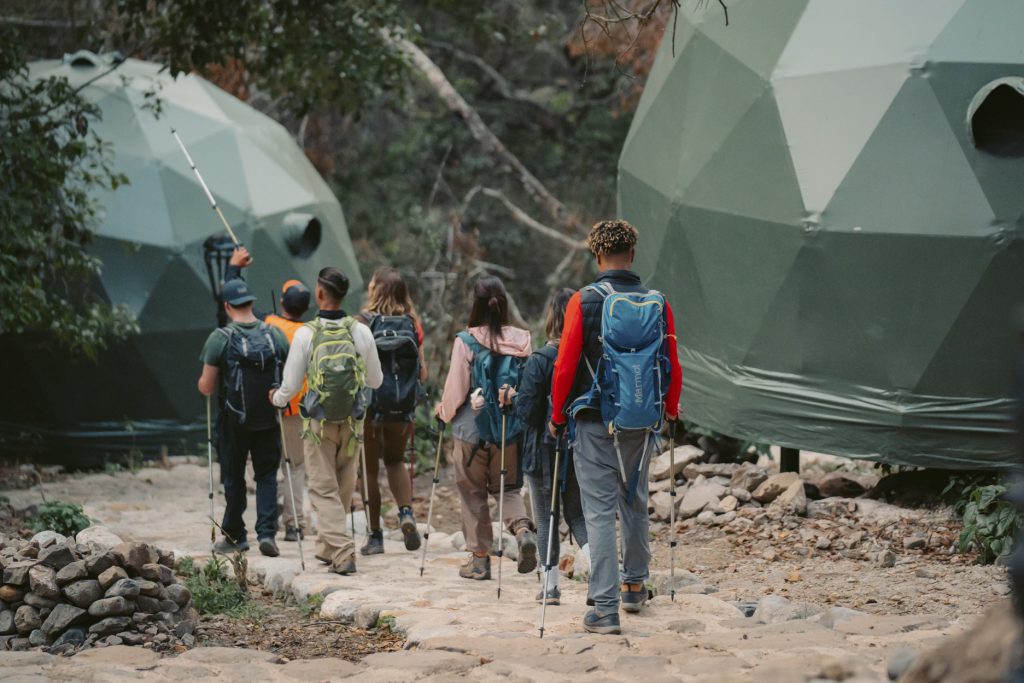
Accommodation and Campsites
Even if you’re planning to camp, you may still have to fund:
- Paid campsites
- Pre- or post-hike accommodation
- Lodges along the route
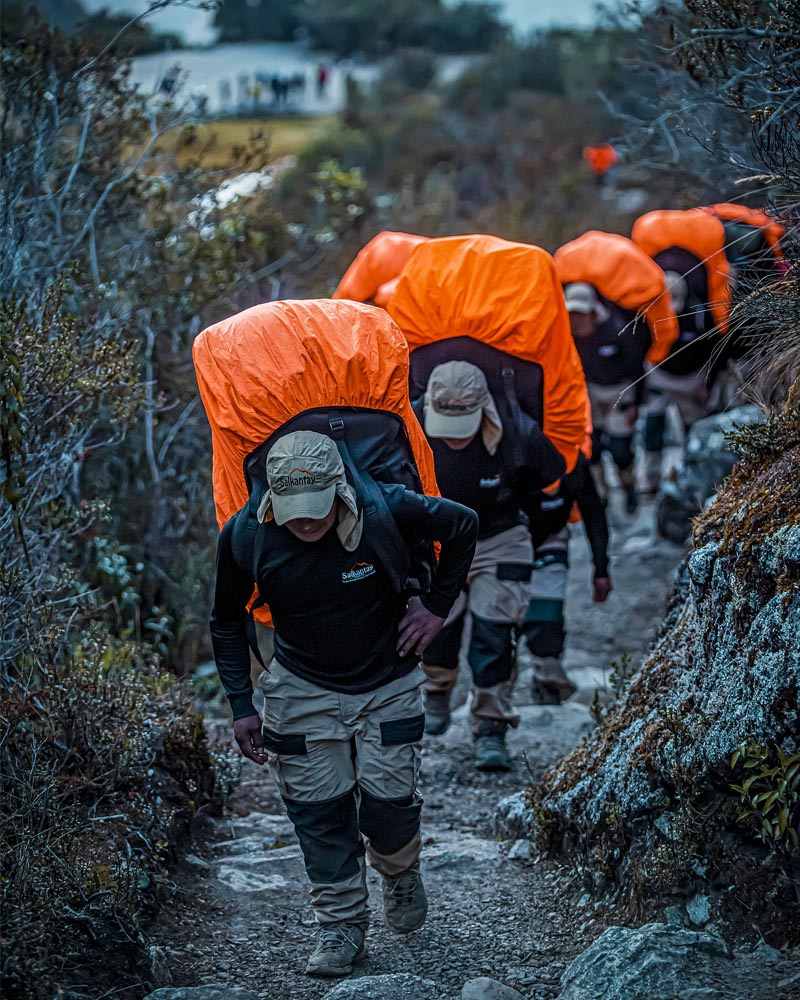
On treks like Salkantay, many people choose a mix of camping and lodge stays depending on comfort level. If you travel with a tour operator, accommodation is usually handled for you, with some offering exclusive campsites.
Food and Daily Costs
You’ll burn more energy than usual, which means you’ll eat more than usual.
Whether you’re carrying your own food or relying on meals provided by a guided trek, this is a consistent daily cost that’s easy to overlook. This article on the “Best Foods to Eat While Hiking” has lots of great tips on what to take with you.
Gear and Equipment
If you already have gear, great.
If not, this is where costs can creep up quickly. Backpack, layers, footwear, sleeping gear. It adds up.
If you’re only doing one major trek, renting can often be the smarter move.
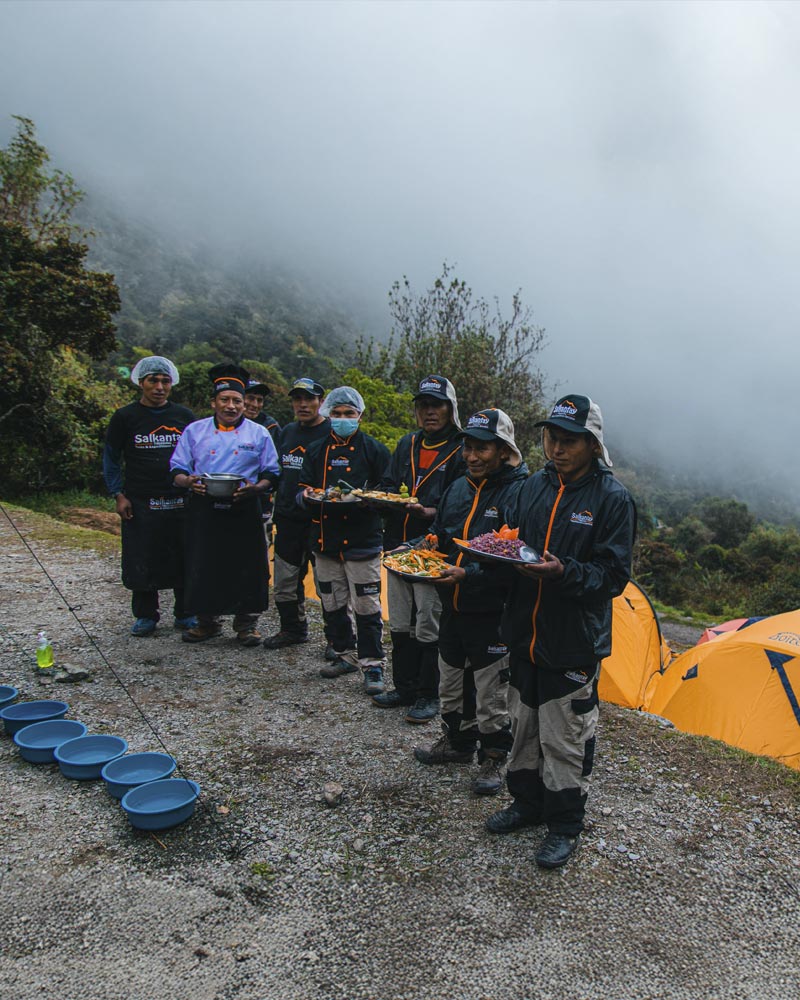
Guides, Porters, and Tours
For more complex routes, this is where you’re investing in experience, not just logistics.
Guides handle navigation, timing, and safety. Porters can carry heavier loads, which makes a big difference over several days.
For routes like the Salkantay Trek, this support can turn a challenging trip into a much more enjoyable one.
Plan Your Route and Itinerary
This is where everything starts coming together.
A good itinerary doesn’t just get you from start to finish. It makes the journey feel manageable, balanced, and actually enjoyable day to day.
Daily Distances and Hiking Time
It’s very easy to overestimate how far you’ll want to hike each day.
On paper, long distances can look doable. In reality, once you factor in elevation, weather, and fatigue, they can quickly become exhausting.
A solid guideline for multi-day hikes would be:
- 5–8 hours of hiking per day
- Enough time to rest, eat, and recover
If every day looks packed, your trip will feel like a race, not an experience.
Rest Days and Recovery
Rest days aren’t just for long expeditions. They’re useful anytime your itinerary is physically demanding.
They give your body time to recover, reduce the risk of injury, and make the overall experience more manageable.
Skipping rest days might save time, but it often costs you comfort.
Campsites vs Lodges
Where you sleep shapes your experience more than you might expect.
Camping gives you:
- More flexibility
- Closer connection to the environment
- Lower cost (usually)
Lodges give you:
- Warm beds
- Hot meals
- Less gear to carry
Neither is better. It just depends on how you want your trip to feel.

Building in Acclimatization Time
If your route involves altitude, this becomes essential.
You can’t rush acclimatization. Your body needs time to adjust, and trying to push through too quickly is where people run into problems.
Build in:
- Extra nights at higher elevation
- Gradual increases in sleeping altitude
It might feel slow at the time, but it makes everything easier later.
Train and Prepare Your Body
You don’t need to turn into a full-time athlete to enjoy a hiking trip. But you do need to prepare, especially if you’re tackling longer routes or anything at altitude.
The goal isn’t perfection. It’s making sure your body doesn’t feel completely shocked on day one.
Cardio Fitness for Hiking
At its core, hiking is endurance.
You’re moving for hours at a time, often uphill, sometimes at altitude, and usually carrying weight. So your cardio base matters more than anything else.
Good options to prepare yourself include:
- Long walks (ideally on uneven terrain)
- Incline treadmill sessions
- Stair climbing
- Cycling or running
Consistency beats intensity here. A few sessions a week over several weeks will do far more than a last-minute burst of motivation.
Strength Training for Stability
Hiking isn’t just about lungs and how long you can go for. It’s about legs and control.
Downhill sections, in particular, are what catch people off guard. That’s where your quads, glutes, and core do most of the work.
Focus on:
- Squats and lunges
- Step-ups
- Core stability exercises
You don’t need a complicated program, either. Just enough strength to stay stable and reduce fatigue.

Training with a Loaded Backpack
This is the one people skip and later regret.
Walking with a backpack changes your balance, your posture, and how quickly you get tired. Even a few practice hikes with weight will make a noticeable difference.
Start light, then gradually increase.
Preparing for Altitude
You can’t fully replicate altitude at home (unless you live in the mountains), but you can prepare your body to handle stress better.
That means:
- Building overall fitness
- Arriving well-rested
- Giving yourself time to acclimatize once you’re there
Which brings us to the next section…
How to Plan a High-Altitude Hiking Trip (Essential Tips)
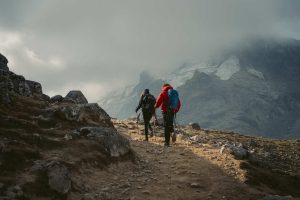
High-altitude hiking is where things shift from “challenging” to “properly demanding.” It’s not just about distance or elevation anymore but about how your body reacts to less oxygen.
This is where good planning makes a huge difference.
If you want a deeper breakdown, it’s worth looking into training for hiking in Cusco as a benchmark for higher-altitude prep.
What Counts as High Altitude?
Anything above about 4,921 feet (1,500 meters) is considered high altitude.
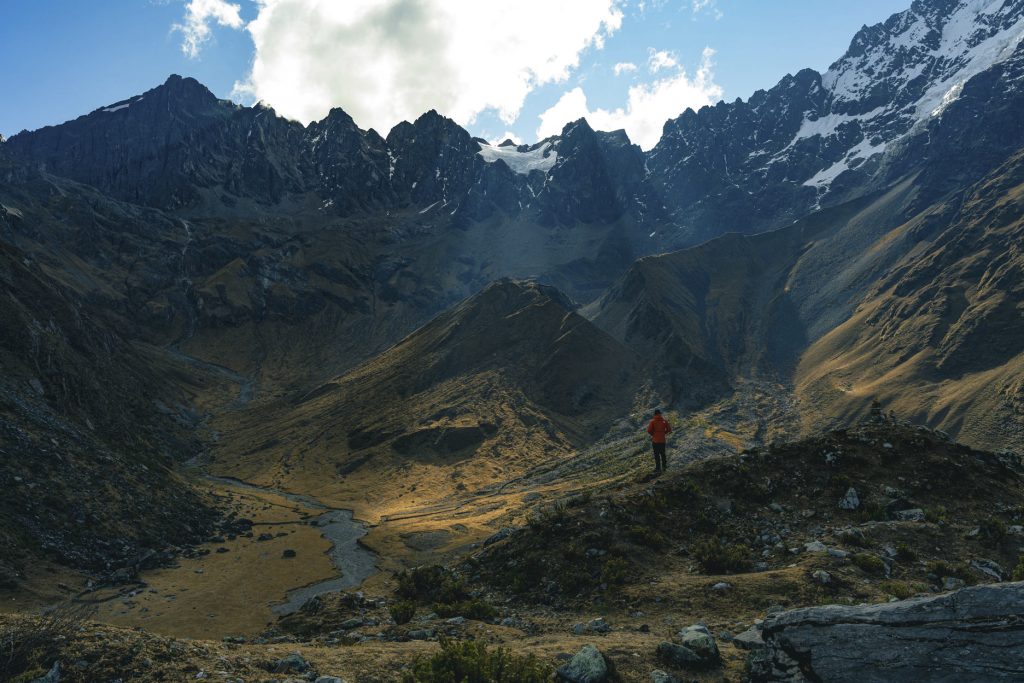
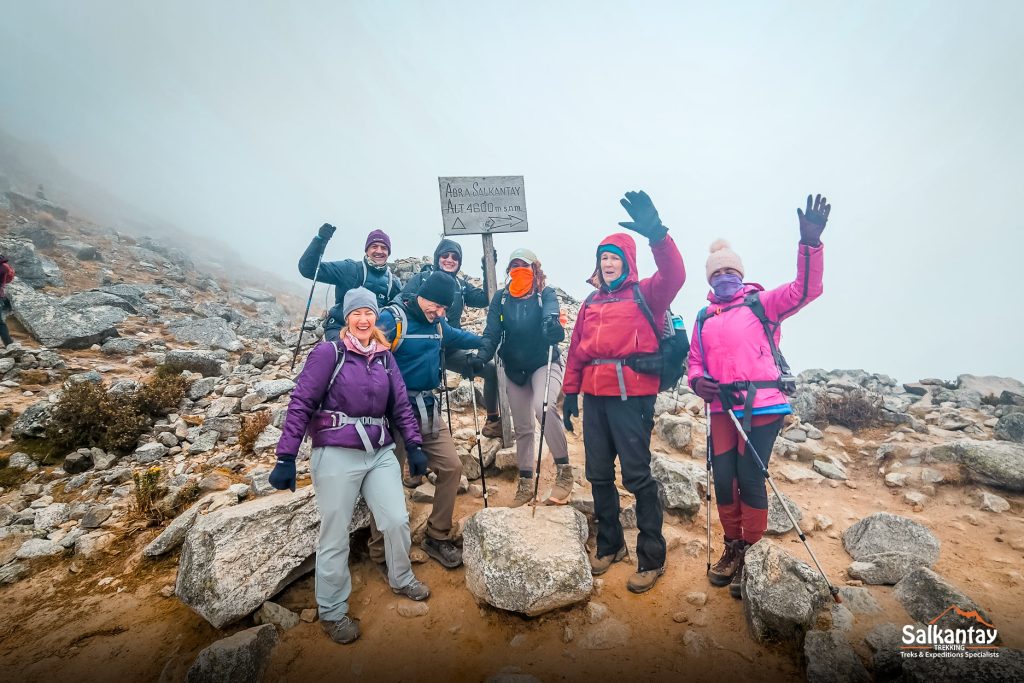
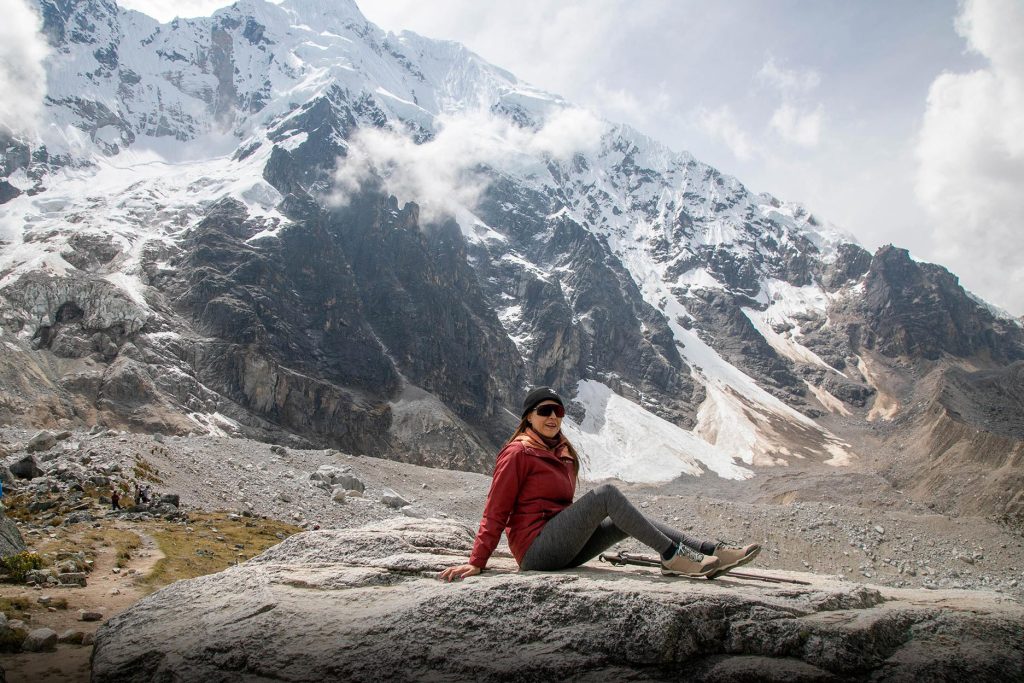
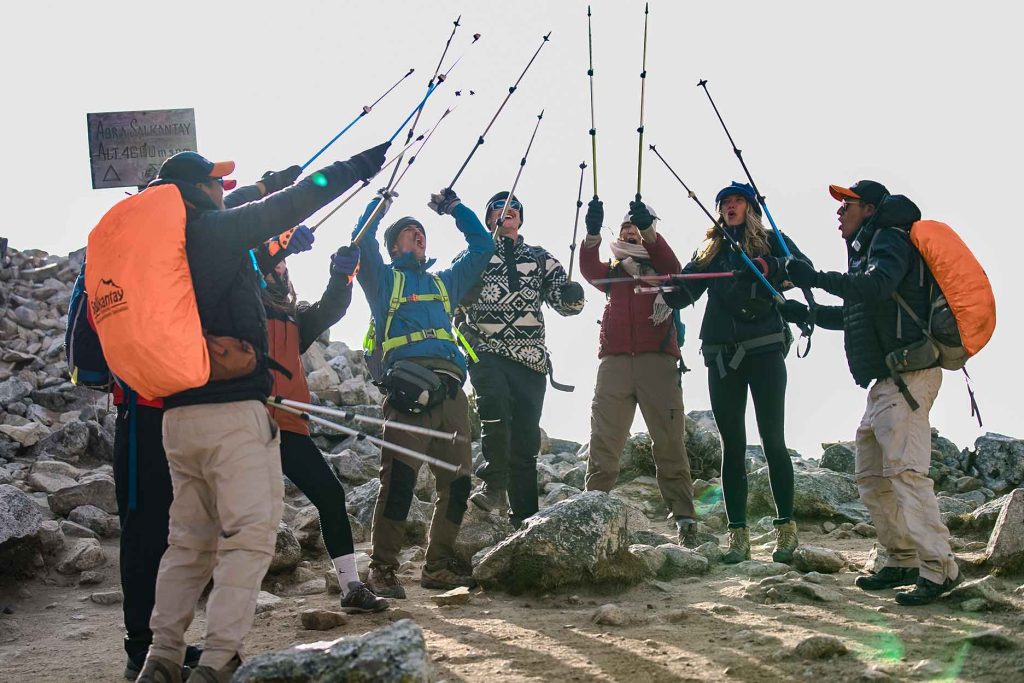
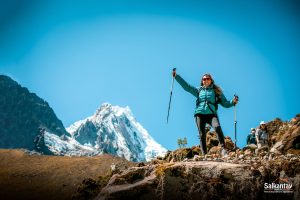
At that point, your body starts to notice the drop in oxygen. Go higher, like on the Salkantay Trek, which reaches over 4,500 meters / 15,000 feet, and the effects become much more noticeable.
How Altitude Affects Your Body
At altitude:
- You get tired faster
- Your breathing rate increases
- Physical effort feels harder than usual
Even if you’re fit, you’ll likely feel the difference. That’s normal.
The key is not to fight it but to adjust to it.
How to Acclimatize Properly
Acclimatization is your body’s way of adapting to altitude. And it takes time.
Top tips include:
- Spending a few days at moderate altitude before your trek
- Increasing sleeping elevation gradually
- Avoid rushing your itinerary
If you’re heading to Peru, spending time in Cusco before starting your trek is one of the smartest things you can do. Think 2–3 days minimum, ideally 3–4 for high-altitude treks.
Recognizing Altitude Sickness Symptoms
Altitude sickness can start mild and escalate if ignored.
Common early signs:
- Headache
- Nausea
- Dizziness
- Fatigue
These aren’t things to “push through.” They’re signals to slow down or adjust.
How to Prevent Altitude Sickness
You can’t eliminate the risk entirely, but you can do things to help altitude sickness.
Focus on:
- Staying hydrated
- Eating regularly and focusing on light foods
- Pacing yourself
- Avoiding alcohol early on
- Purchasing medication to help if necessary (consult your doctor first)
Why High-Altitude Treks Like Salkantay Require Extra Planning
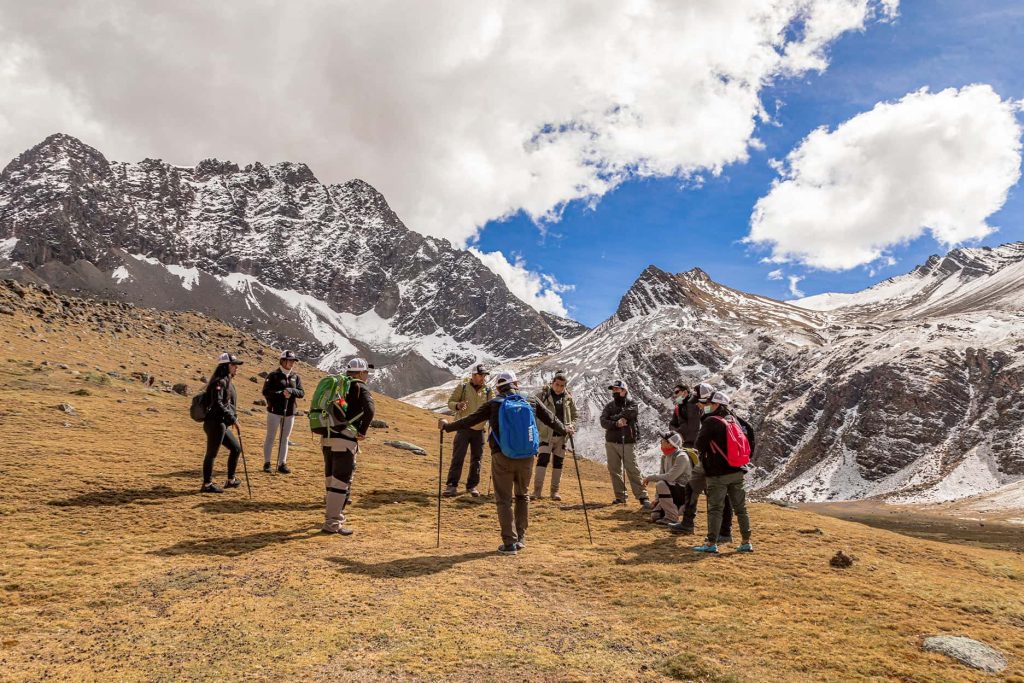
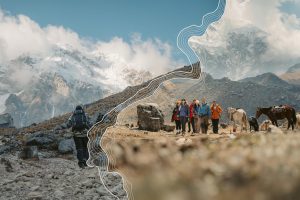
Treks like Salkantay combine altitude, long distances, shifting terrains, and changing weather conditions.
That means:
- More physical demand
- Greater need for acclimatization
- Higher importance of logistics and support
It’s not about making it intimidating. It’s about respecting the environment so you can actually enjoy it.
Pack the Right Gear (Without Overpacking)
Packing is where things tend to spiral for many hikers.
You either bring too much and carry it for days unnecessarily… or too little and wish you hadn’t.
The goal is balance. Here’s how to pack smart.
Essential Hiking Gear
At minimum, you’ll need:
- A comfortable backpack
- Water system (bottles or hydration pack)
- Navigation tools (map, GPS, or app)
- Basic first aid kit
- Comfortable clothing for layering
These are your non-negotiables.
Clothing Layers Explained
Layering what you wear is what keeps you comfortable in changing conditions.
The simple 3-layer system that works extremely well involves:
- Base layer (moisture-wicking)
- Mid layer (warmth)
- Outer layer (waterproof/windproof)
This lets you adjust throughout the day without overpacking.
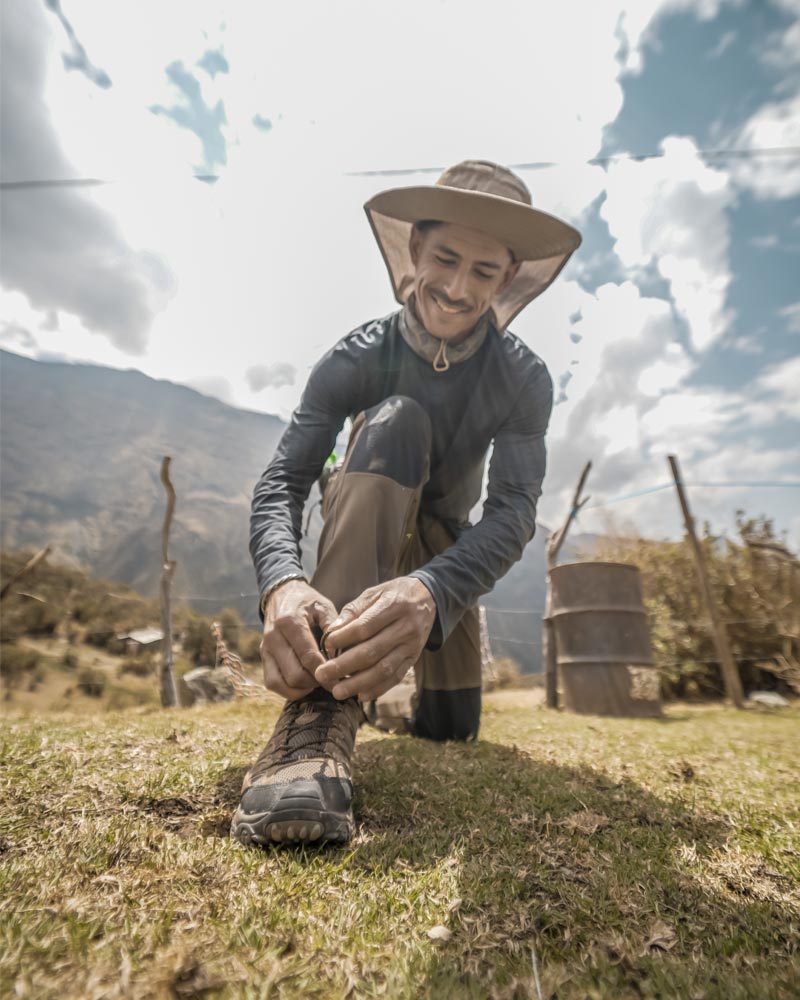
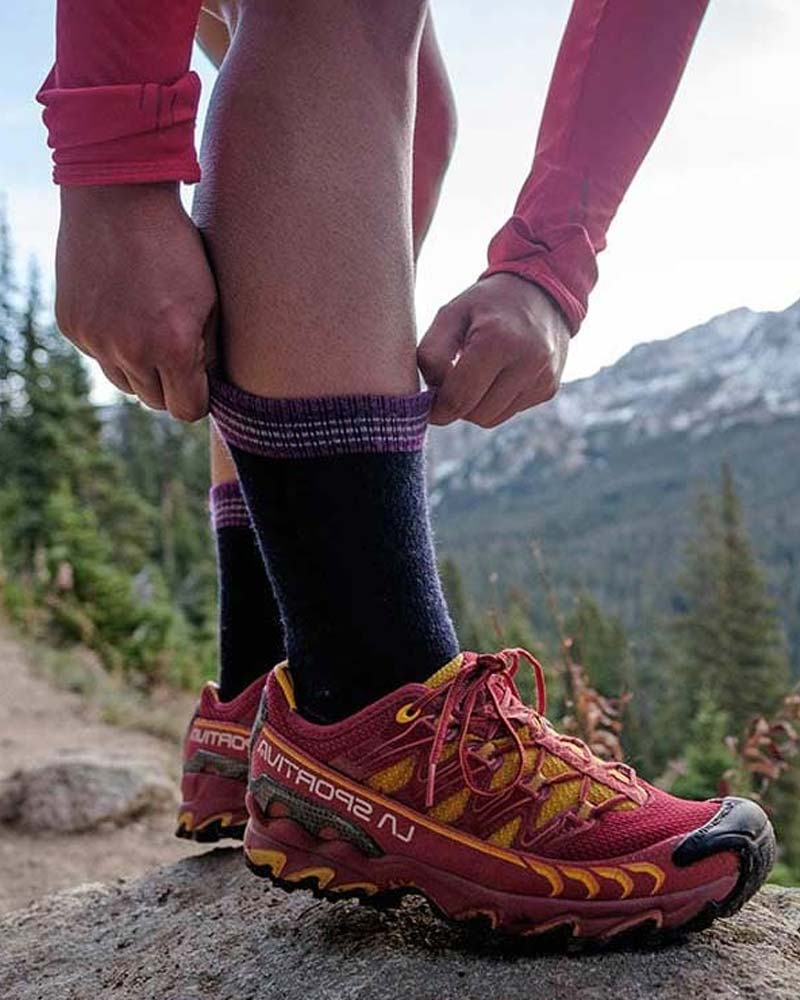
Choosing the Right Footwear
This is not the place to compromise.
Your trail shoes or hiking boots should be:
- Broken in (not brand new)
- Comfortable over long distances
- Suitable for the terrain
Blisters can ruin a trip faster than almost anything else, and once they arrive, they’re hard to make leave.
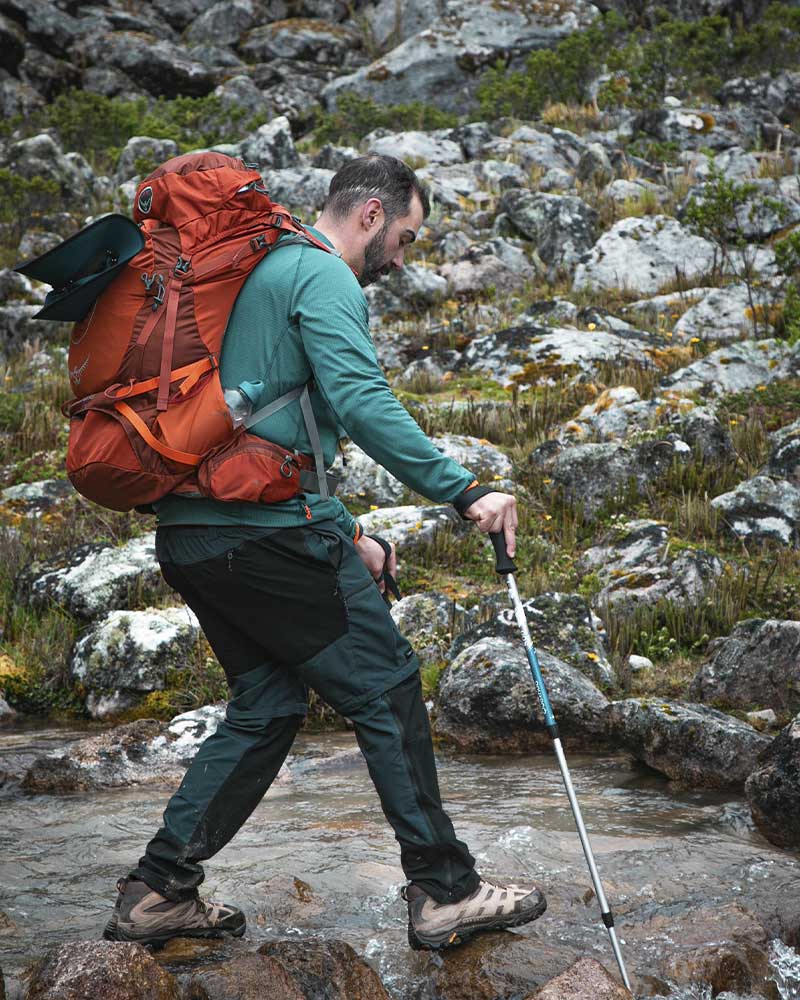
Trekking Gear Extras
These aren’t essential for everyone, but they can make a big difference:
- Trekking poles (great for knees)
- Headlamp
- Power bank
These small additions make a big impact.
Regarding the rest of your stuff, if you’re debating whether you need something, you probably don’t.
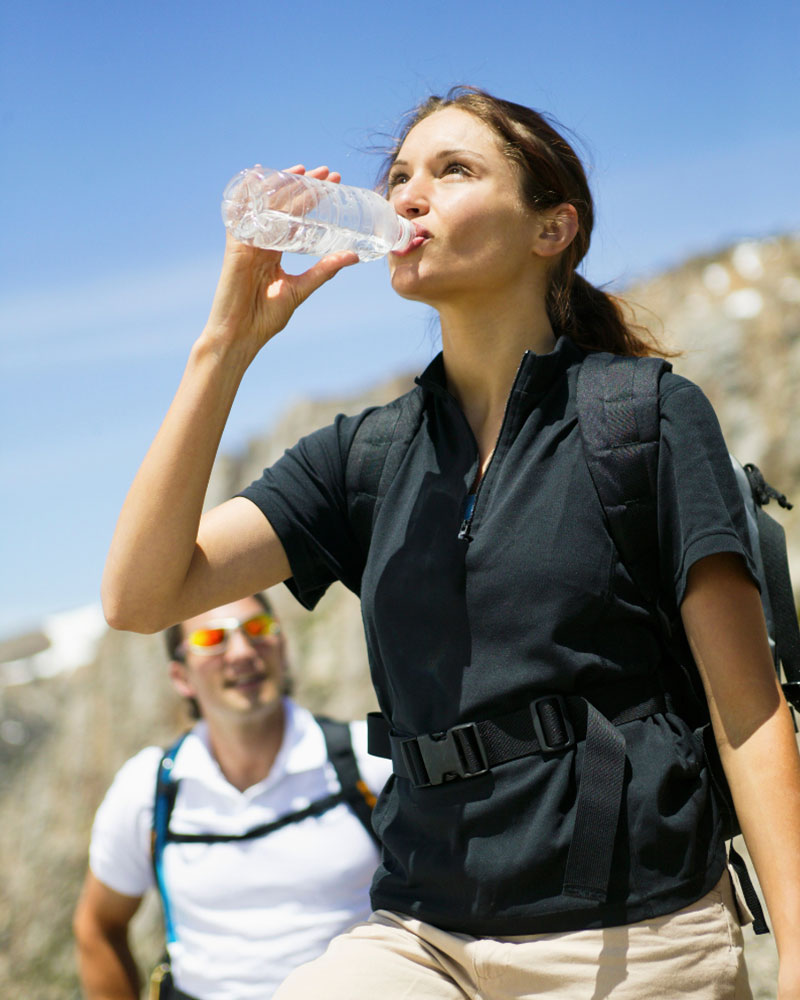
Plan Your Food and Water Strategy
Food becomes surprisingly important once you’re hiking for multiple hours a day.
You’re burning energy constantly, and if you don’t replace it, you’ll feel it quickly.
How Much Food to Bring
More than you think.
Hiking increases your calorie needs, and it’s better to have extra than not enough.
Snacks are key. Think easy, quick energy between meals, like:
- Energy bars
- Trail mix
- Dried fruit
- Chocolate
If you’re trekking without a tour group and bringing your own meals, go for instant options that don’t take up much space or weight.
You’re not aiming for gourmet. You’re aiming for fuel.
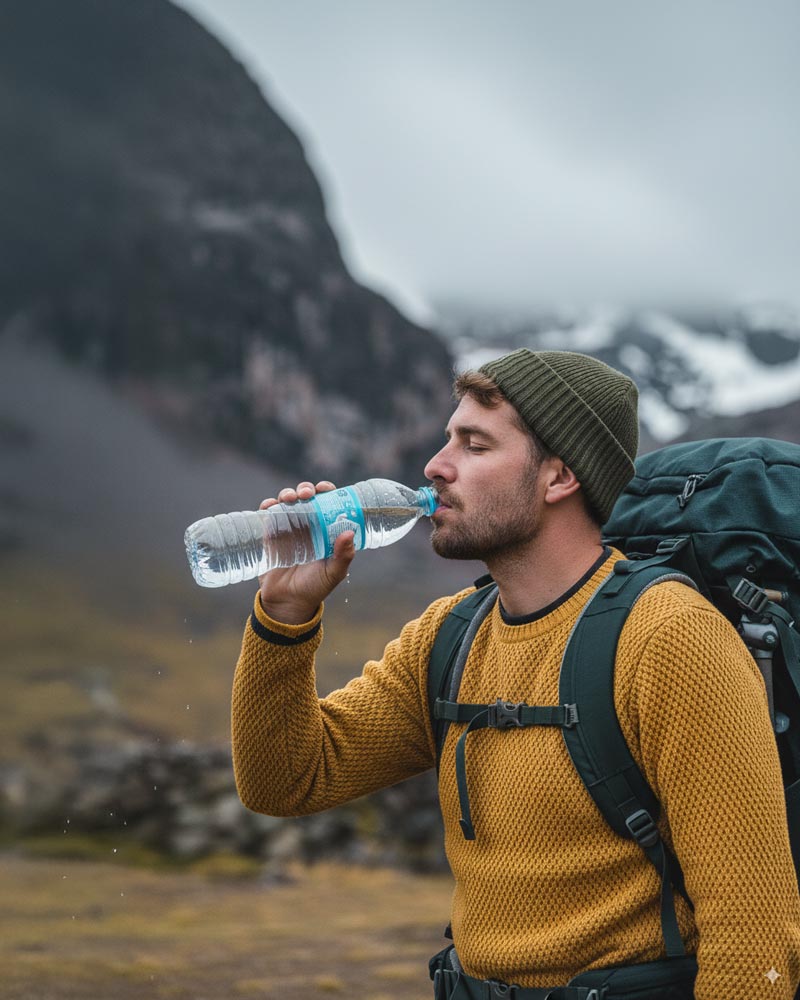
Water Purification Methods
If you’re not carrying all your water, you’ll need a way to treat it.
Options include:
- Filters
- Purification tablets
- UV purifiers
Always assume natural water sources need treatment unless you know otherwise.
Understand Safety and Navigation
A little planning here can prevent a lot of stress later.
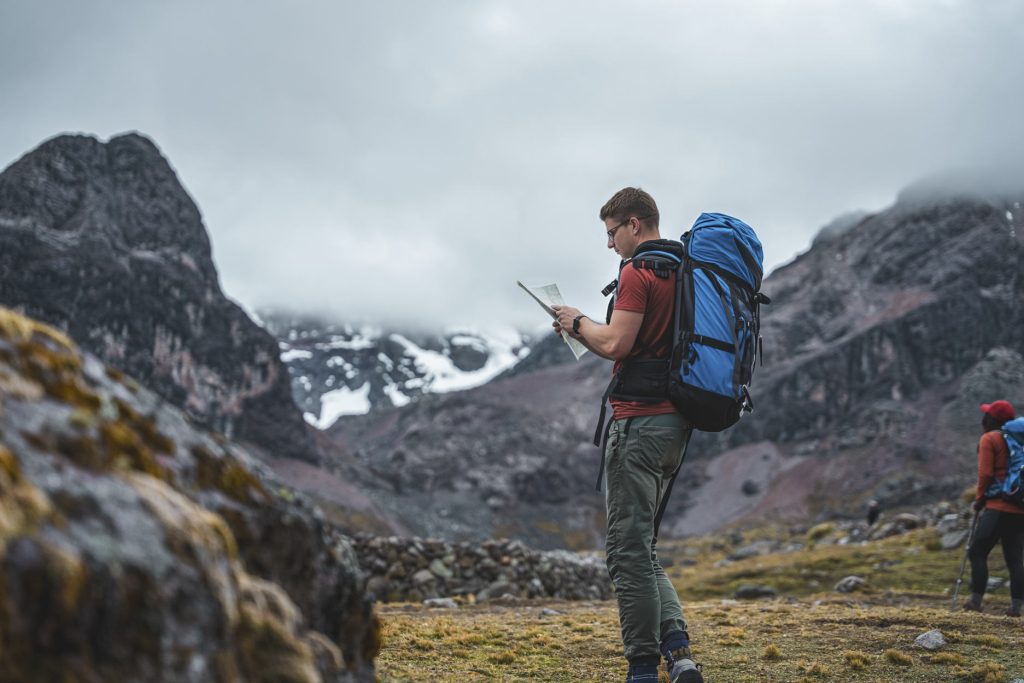
Maps, GPS, and Offline Navigation
Don’t rely on signal. It’s often unreliable or nonexistent on trails, especially in more rural zones.
Download maps in advance or carry a physical backup.
Emergency Planning and Contacts
Before you set foot on the trail, someone should know:
- Where you’re going
- Your expected timeline
- When to raise concern
It’s a simple step that makes a big difference in an emergency.
Weather Awareness and Risk Management
Mountain, sea, jungle, and desert weather change fast.
Check forecasts before you go, and be ready to adjust plans if conditions shift. When you travel with a tour group, your guide will be well-equipped with the knowledge to manage sudden climate changes and know how best to continue.
Solo vs Group Hiking Safety
Solo hiking offers freedom, but it comes with more responsibility and can put you in a difficult situation when faced with danger.
Groups provide:
- Support
- Shared decision-making
- Extra safety
Choose based on your experience and comfort level.
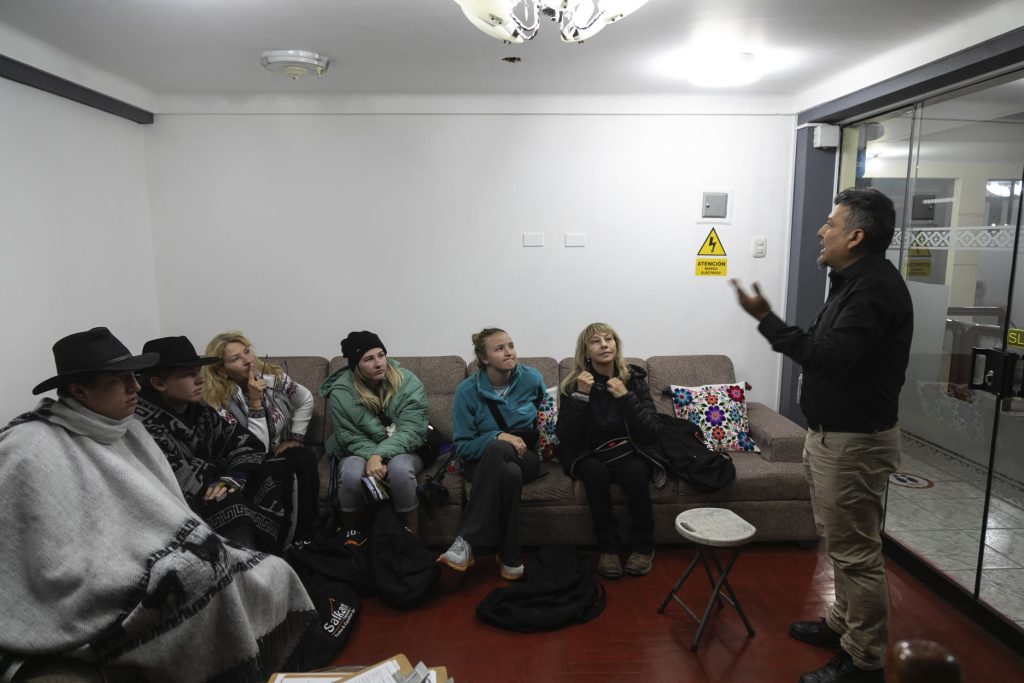
Book Key Logistics in Advance
This is the part where your plan turns into something real.
Up to now, everything has been ideas, like routes, timing, and packing lists. Booking logistics is where you lock things in and remove uncertainty. And the earlier you do it, the smoother your trip will feel.
Leave it too late, and you’re dealing with limited options, higher prices, or in some cases, missing out entirely.
Flights and Transport
If your hiking trip involves travel (especially international), flights are usually the first thing to secure.
Prices tend to rise closer to departure, but more importantly, your flight times affect everything else, like your arrival day, acclimatization time, and how rushed or relaxed your start feels.
Once flights are sorted, think about the full journey:
- Airport to accommodation
- Accommodation to trailhead
- Return transport after your hike
For places like Peru, getting to the trailhead often involves a mix of transfers that could include private vehicles, buses, or organized pickups. If you’re going guided, this is usually handled for you. If not, it’s worth mapping it out in advance so you’re not figuring it out at 5 am with a backpack on.
Trailhead Access
This is one of those details that seems small… until it isn’t.
Some trails start right outside a town. Others require hours of travel on smaller roads, sometimes with limited or unreliable transport options.
Ask yourself:
- Do I need to book transport in advance?
- Are there fixed departure times?
- What happens if I miss it?
For more remote treks, many hikers choose guided options simply because it removes this layer of complexity.
Permits and Entry Tickets
This is the one that catches people out the most.
Certain routes, especially well-known ones, have strict permit systems with limited availability. These can sell out months in advance, particularly during peak season.
Even if permits aren’t required, there may still be:
- National park or trail entry fees
- Campsite reservations
- Visitor limits during busy periods
If your route includes something like the Inca Trail, this step isn’t optional. It’s the difference between going and not going.
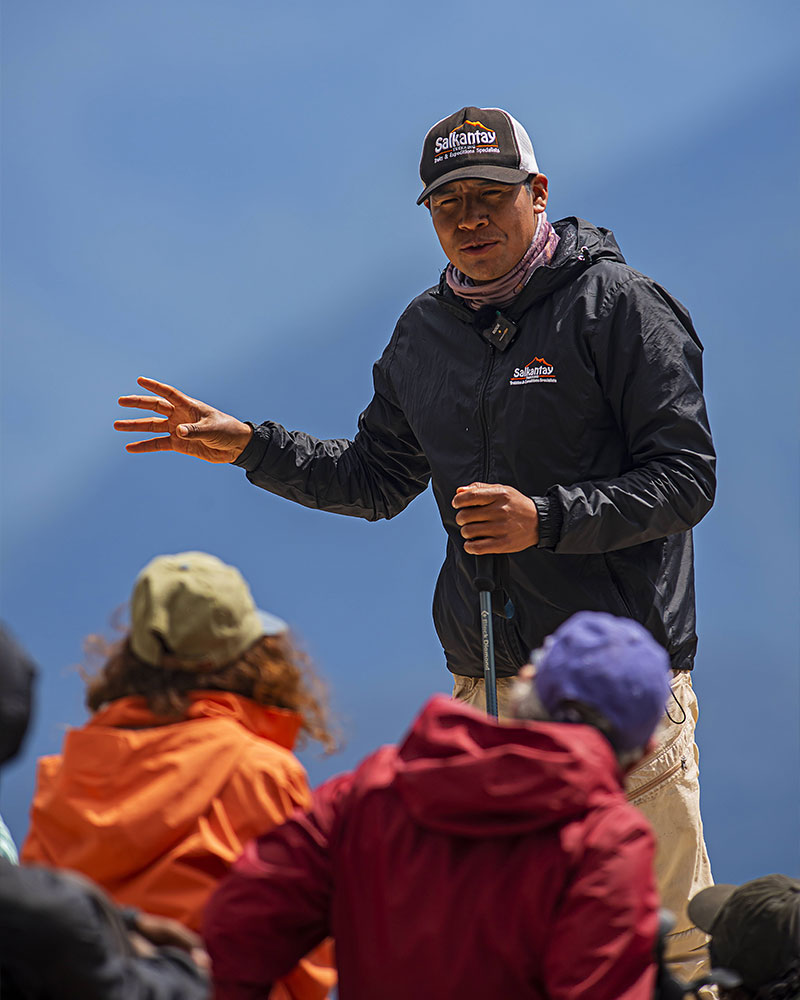
Booking Guided Tours
If you’ve decided to go guided, book early enough to secure your preferred dates and operator.
A good guided trek will typically include:
- Transport to and from the trail
- Meals during the trek
- Accommodation (camping or lodges)
- Guides and support staff
For more complex routes, this can simplify your experience massively. You’re not just paying for convenience but for smoother logistics, local knowledge, and a more relaxed trip overall.
Final Checks Before You Go
This is the final stretch before your trip begins.
Everything is booked, your gear is (mostly) sorted, and now it’s about making sure nothing obvious has been missed. These last checks are simple, but they can save you from unnecessary stress once you’re on the trail.
Final Gear Check
A few days before you leave, lay everything out.
Not in your head, but physically. On a bed, floor, wherever you have space.
This is where you:
- Spot anything missing
- Realize what you’ve packed twice
- Question why you thought you needed that extra jacket
A useful trick is to pack your bag fully, then unpack and remove anything that isn’t essential. Most people can comfortably cut 10–20% of what they initially packed.

Checking the Weather Forecast
Weather forecasts become much more useful as you get closer to your departure date.
Check conditions for:
- Your starting point
- Higher elevations (if applicable)
- Each day of your itinerary
You’re not trying to predict every detail (that’s unrealistic), but just understand the general conditions so you can adjust clothing and expectations.
Sharing Your Itinerary
Even if everything feels straightforward, a friend or family member should know your plan.
Share:
- Your route
- Your expected timeline
- When you’ll check in
If anything unexpected happens, this gives someone a clear point of reference.
Travel Insurance
It’s not the most exciting part of planning, but it’s one of the most important.
Make sure your policy covers:
- Hiking or trekking activities
- The altitude you’ll be reaching
- Emergency evacuation (especially for remote areas)
It’s one of those things you hope you never use, but you’ll be glad it’s there if you need it.
Common Mistakes to Avoid When Planning a Hiking Trip
Even with the best intentions, a few common mistakes show up again and again. Avoiding these doesn’t require extra effort, just a bit more awareness while you’re planning.
Overpacking or Underpacking
Overpacking usually comes from “just in case” thinking.
Underpacking comes from assuming you won’t need much.
Both lead to problems, either carrying unnecessary weight or missing essentials.
The goal isn’t perfection, it’s practicality. Pack for what you know you’ll need, not every possible scenario.
Underestimating the Trail Difficulty
This is probably the most common mistake.
A trail might look manageable based on distance alone, but once you factor in elevation, terrain, and conditions, it can feel very different.
Always dig a little deeper:
- Check elevation gain
- Look at recent trail reports
- Read real experiences, not just highlights
If it looks challenging on paper, it will feel more challenging in reality.
Ignoring Weather Conditions
Weather isn’t just a background detail. It’s a major factor in how your hike unfolds.
Ignoring it can mean:
- Poor visibility
- Slippery trails
- Unexpected temperature drops
Planning around the weather doesn’t mean avoiding all risk. It just means being aware of what you’re walking into.
Not Preparing for Altitude
Even though we’ve covered this earlier, it’s worth repeating here because it’s such a common issue.
Altitude affects everyone differently, and it doesn’t care how fit you are.
Skipping acclimatization or rushing your ascent is where most problems start. Taking it seriously from the beginning makes a huge difference.
Should You Hike Independently or Go Guided?
By this point, you’ve probably got a sense of what your trip will look like, but this decision can still shape the entire experience.
There’s no universal right answer. It depends on what you value more: independence or ease.
Pros and Cons of Independent Hiking
Independent hiking gives you full control.
You decide:
- Your pace
- Your schedule
- Your daily distances
It can also be more affordable, especially if you already have your own gear.
But with that freedom comes responsibility. You’re managing navigation, logistics, safety, and decision-making on your own. For well-marked, accessible trails, this works well. For more remote or complex routes, it adds quite a lot of pressure.
Benefits of Guided Treks
Guided treks remove a lot of that pressure.
Instead of focusing on logistics, you can focus on the experience itself, like walking, taking in the views, and actually enjoying the journey.
You’ll typically have:
- A structured itinerary
- Support with meals and accommodation
- Local guides who understand the route and conditions
For destinations with altitude, changing weather, or more complicated logistics, this can make a huge difference in how relaxed the trip feels.
Cost Comparison
On paper, independent hiking is cheaper.
But when you factor in:
- Transport
- Gear
- Food
- Time spent planning
The gap isn’t always as big as it first appears.
Guided treks cost more upfront, but they often provide better overall value, especially for more demanding routes.
Example: Planning a Multi-Day Trek (Salkantay Case Study)
To bring everything together, it helps to see what this actually looks like in practice.
Let’s take a multi-day trek like Salkantay in Peru and break it down.
Sample 5 Day Itinerary
A typical route might look something like this:
- Day 1 starts with a gradual introduction. You travel from Cusco to the trailhead, followed by a steady hike to your first campsite. It’s enough to get moving without overwhelming you.
- Day 2 is usually the most challenging. This is where you’ll tackle the highest pass, dealing with both elevation and effort. It’s tough, but also one of the most rewarding sections.
- Day 3 shifts the landscape completely. You descend into greener terrain, with warmer temperatures and a noticeable change in scenery.
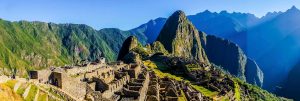
- Day 4 continues through this lower region, gradually bringing you closer to the area around Machu Picchu.
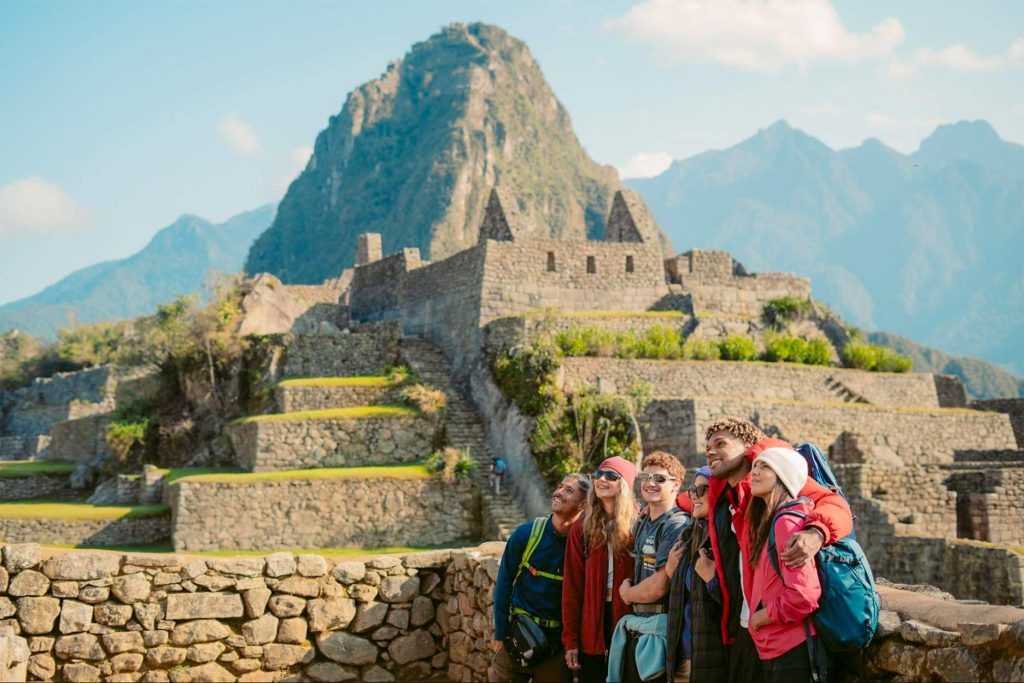
- Day 5 is the final highlight when you’ll be visiting Machu Picchu itself before heading back to Cusco.
Key Planning Considerations
What makes this kind of trek different isn’t just distance. It’s the combination of factors.
You’re managing:
- High altitude
- Changing weather conditions
- Multi-day physical effort
- Logistics across different environments
That’s why planning matters more here than it would on a simple day hike.
What Makes It Different from Standard Hikes
A trek like this isn’t just about walking from one point to another.
It’s a full experience:
- Varied landscapes
- Physical challenge
- Cultural context
And because of that, it requires more preparation, but also offers much more in return.
Planning Makes the Trip
At its core, planning a hiking trip isn’t about overcomplicating things but about making smart decisions early so everything feels easier later.
When you take the time to think through your route, your timing, your gear, and your logistics, you’re setting yourself up for a trip that feels smooth instead of stressful.
You’ll spend less time worrying about what you forgot and more time actually enjoying where you are.
And that’s really the goal.
Because whether it’s your first hike or your fifth big trek, the best trips aren’t the ones that go perfectly. They’re the ones where you’re prepared enough to handle whatever comes your way and still enjoy the experience.
Leave A Reply